

So your deck is solid, the view is great, but there’s nothing stopping someone from tumbling right off the edge. Adding railing posts to an existing deck is one of those projects that feels straightforward until you’re halfway through it and realize the rim joist has seen better days.
The short version: mark your post locations, bolt through the rim joist, add blocking for strength, then work up from there with your rails, balusters, and post caps. Most people can handle it. But the details are where it gets interesting.
Let’s walk through the whole thing.
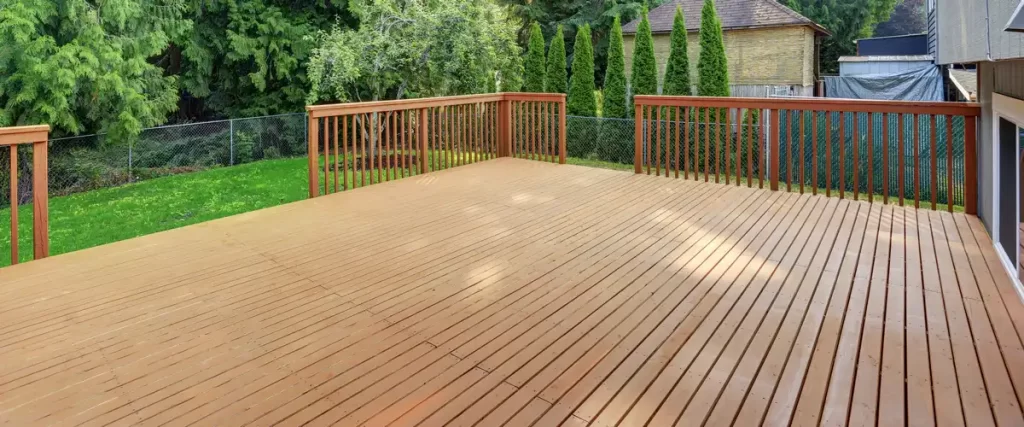
Before You Touch a Single Bolt
The first thing to figure out isn’t where the posts go but whether your existing deck can handle new railing posts at all.
Walk the deck, push on it and look underneath if you can. Soft spots in the deck boards, gray or crumbling wood at the rim joist, or joists that flex too much when you step near the edge are all red flags. Adding deck railing posts to a structurally compromised deck frame just makes an unsafe situation look finished.
Once you’re satisfied the bones are solid, check your local building codes before buying anything. Decks more than 30 inches above the ground are required to have a railing with a top rail at least 36 inches above the deck surface, though some states and municipalities require 42 inches. Your local building department is the right place to confirm which applies to you. The International Code Council’s digital code library is a good starting point if you want to read the actual IRC language before you go.
Post spacing matters too. Manufactured deck railing posts should generally be spaced no more than 8 feet apart. Most builders aim for 6 feet or less for a cleaner look and better rigidity.
What You’ll Need
Before starting, gather:
- Measuring tape and pencil for marking post locations
- Drill and drill bits (including a long bit for through bolts)
- Through bolts, washers, and nuts (stainless steel is the right call for outdoor use)
- Post hardware or brackets appropriate to your railing system
- Treated lumber for blocking, if your rim joist needs reinforcement
- Wood preservative for any freshly cut ends on treated lumber
- Level to keep everything plumb
Step 1: Mark Your Post Locations
Start at the corners. Corner posts anchor the whole railing system, so place those first and mark them clearly on the deck surface and along the rim joist below. Then use your measuring tape to space the remaining railing posts evenly between corners, keeping within that 6 to 8-foot range.
Double-check that your marks align with solid framing beneath the deck boards. If a post location lands between joists with nothing behind it, you’ll need to add blocking, which brings us to the next step.
Step 2: Add Blocking Where Needed
This step gets skipped more often than it should, and it’s the reason a lot of railing systems feel wobbly years later.
Blocking is a short piece of treated lumber installed between the deck joists, directly behind the rim joist at each post location. It gives the through bolts something substantial to bite into and transfers the load across the framing instead of letting it concentrate at a single point in the rim joist.
Cut your blocking to fit snugly, treat any freshly cut ends with wood preservative, and fasten it securely to the adjacent joists with structural screws before moving to the next step.
Step 3: Drill and Set Your Posts
Now comes the actual attachment. Here’s how it goes:
- Position the post against the rim joist at your marked location, checking that it’s plumb with a level
- Drill your first hole through the post and rim joist, going all the way through into the blocking behind
- Insert a through bolt, slide a washer on, and hand-thread the nut
- Drill the second hole a few inches above or below the first (two bolts per post is the standard)
- Insert the second bolt, then tighten both snugly, but don’t overtighten and crush the wood
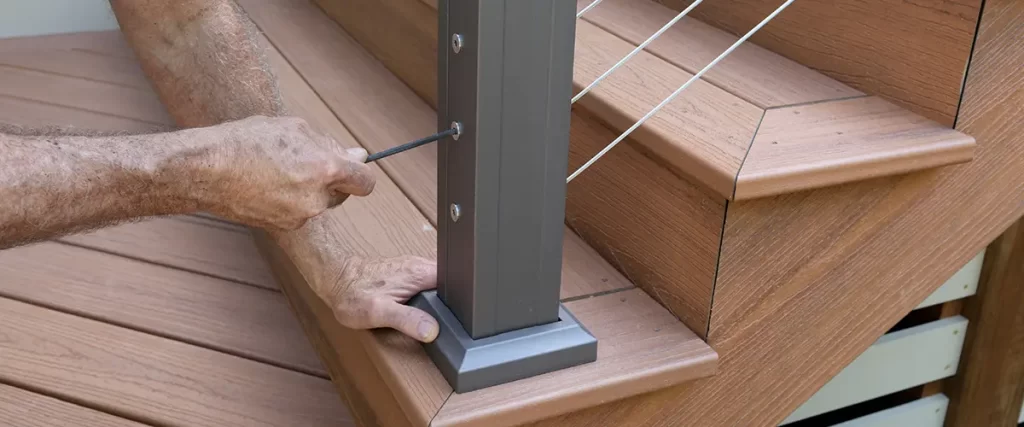
For wooden railing posts, two stainless steel through bolts per post with washers on both sides gives you a solid, corrosion-resistant connection. If you’re working with a manufactured railing system, check the instructions. PVC and composite railings often use proprietary brackets or post sleeves that attach differently than wood posts do.
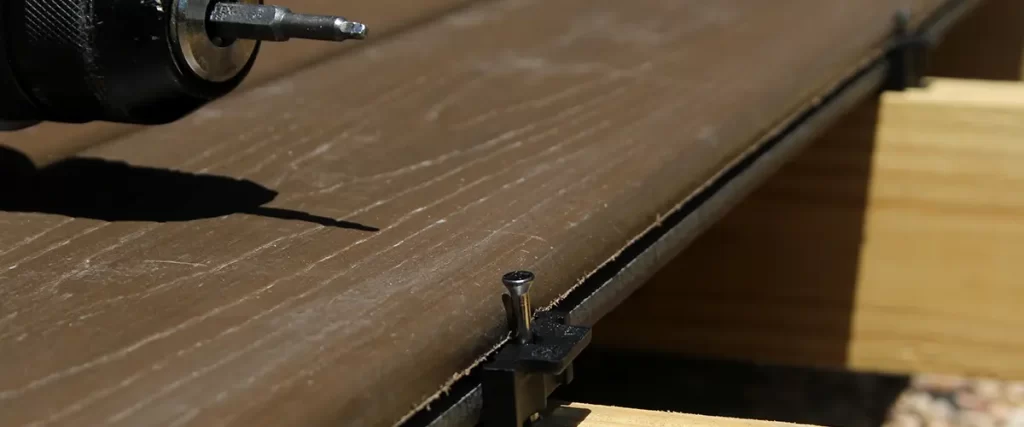
Railing Types: A Quick Comparison
| Railing Type | Attachment Method | Maintenance | Best For |
| Wooden railing | Through bolts into rim joist | Stain/seal every 2-3 years | Traditional look, DIY-friendly |
| Composite railings | Manufacturer brackets + post sleeves | Minimal | Low-maintenance, long life |
| Metal railings | Bolt-down bases or welded brackets | Powder coat touch-ups | Modern look, durability |
| PVC railing | Proprietary hardware per brand | Nearly none | Budget-friendly, coastal areas |
Step 4: Run Your Rails and Balusters
With your deck railing posts secure, attach the bottom rail first using brackets at each post. Make sure it’s level before fastening it down completely. The bottom rail should sit close to the deck surface, but with a gap of less than 4 inches to meet code.
Then install your balusters, spacing them evenly and keeping that 4-inch gap rule in mind throughout. The top rail goes on last, capping everything off. If your railing system includes post caps, those go on at the very end as finishing touches.
For a stair handrail, the process is similar, but height is measured from the stair nosings, and the top edge of the handrail must be placed between 34 and 38 inches above the nosing of the stair treads, and handrail ends must be returned and terminated at rail posts.
A Few Things That Trip People Up
Honestly, most DIY railing installations run into the same handful of issues:
- Posts that aren’t plumb because the rim joist itself isn’t perfectly vertical
- Railing sections that don’t come out evenly spaced because the math wasn’t done before drilling
- Existing posts that looked fine but turned out to be rotted inside once removed
- Composite railing systems that require specific hardware not included in the basic kit
If you’re replacing old posts rather than starting fresh, remove the existing posts completely and inspect the rim joist behind them. Old posts hide a lot of damage. Remove dirt and debris from any hardware pockets before setting new posts, and treat exposed wood before bolting anything back in.
FAQ
Can I attach railing posts to deck boards instead of the rim joist?
No, deck boards aren’t structural. Posts must be bolted to the rim joist or deck frame, with blocking added for proper load transfer.
Do I need a permit to add railings to an existing deck?
Often yes, especially if the deck is over 30 inches above grade and didn’t previously have a railing. Check with your local building department.
How many bolts per post?
Two through bolts per post is the minimum for a solid connection. Some codes and post hardware manufacturers require more for taller posts.
What’s the difference between a handrail and a guardrail?
A guardrail runs along the edge of a deck to prevent falls. A stair handrail is what you grip when walking up or down stairs. They have different height requirements and serve different purposes.
Can I use composite railings on an older wood deck?
Yes. The deck surface and framing material don’t have to match the railing material. Just make sure the attachment hardware is compatible with your existing rim joist.
This Might Be More Than a Weekend Project
Everything above is doable for a confident DIYer. But between code requirements, structural inspections, blocking, leveling, and dealing with whatever surprises the existing deck throws at you, what looks like a Saturday project can stretch into something bigger.
If you’d rather have it done right the first time without the measuring tape headaches, that’s exactly what we do. For more on the actual deck building side of things, our page on railing installation covers how we approach projects from the ground up.
And if you’ve been thinking about replacing your whole railing system while you’re at it, you might also want to read our guide on how to replace deck railing and our breakdown of the best deck post materials for 2026, both of which go deeper on material choices and what holds up over time.
When you’re ready to stop measuring and start enjoying your deck, call us at (865) 801-4545 or message us here. We’re happy to take a look at what you’re working with.