

A wobbly railing post is one of those things that keeps homeowners up at night, and honestly, it should.
The good news is that attaching a 4×4 post correctly isn’t complicated once you know what you’re doing. Bolt through the rim joist with two through bolts, back it with blocking, treat any cut ends, and you’ve got a connection that will hold. The part most people get wrong is skipping the blocking, and that’s where things go sideways.
Here’s the whole process.
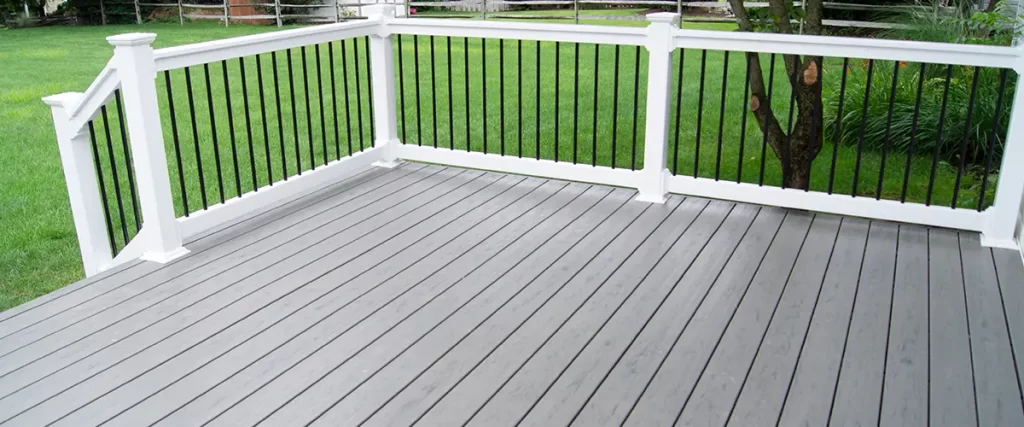
Start With the Right Spot
Before drilling anything, figure out exactly where each post needs to go. Corner posts come first, always. They anchor the whole railing system and set your spacing for everything in between.
A few things to confirm before you mark anything:
- Post locations should land at or near a deck joist for maximum support
- Spacing between posts should stay within what your local building codes allow, typically no more than 6 to 8 feet apart
- Corner posts need solid framing behind them, not just a single rim joist board
Once your locations are marked, look underneath the deck if you can. Knowing what’s behind the rim joist before you drill saves a lot of backtracking.
The Blocking Question
Here’s the thing about rim joists: they’re not always thick enough on their own to give a post the support it needs, especially when someone leans hard against the railing. Blocking fixes that.
Cut a piece of treated lumber to fit snugly between the two joists closest to your post location, directly behind the rim joist. Fasten it in with structural screws or SDWS timber screws before you do anything else. That block becomes the real anchor point for your through bolts, and it spreads the load across the frame instead of concentrating it in one spot.
Treat any freshly cut ends with wood preservative before the block goes in. End grain soaks up moisture fast, and rot tends to start exactly there.
Attaching the 4×4 Post
This is the part people want to rush, and it’s worth slowing down for.
Position your 4×4 post flush against the outside of the rim joist. Hold it plumb, or clamp it if you have someone helping. Then:
- Drill your first hole through the post and rim joist all the way into the blocking behind it
- Insert a carriage bolt or through bolt, slide a washer onto the other side, and hand-thread the nut
- Move a few inches up or down and drill the second hole
- Insert the second bolt, add washers on both sides, and snug both nuts down
Two bolts per post is the standard. Staggering them vertically, rather than placing them side by side at the same height, does a better job resisting the kind of sideways force that happens when someone grabs or leans on the railing.
Don’t overtighten to the point of crushing the wood, but make sure there’s no play in the connection when you grab the post and push.
Post Attachment Methods at a Glance
| Method | Best For | Notes |
| Through bolts + blocking | Most decks, wood framing | Strongest option for rim joist attachment |
| Lag bolts | Thicker framing, solid beam attachment | Fewer holes but need correct length |
| Post base hardware | Surface mounting on deck boards | Easier but generally less strong |
| Carriage bolts | Standard 4×4 to rim joist | Clean look, smooth head on outside face |
Height, Code, and the Stuff That Gets Inspected
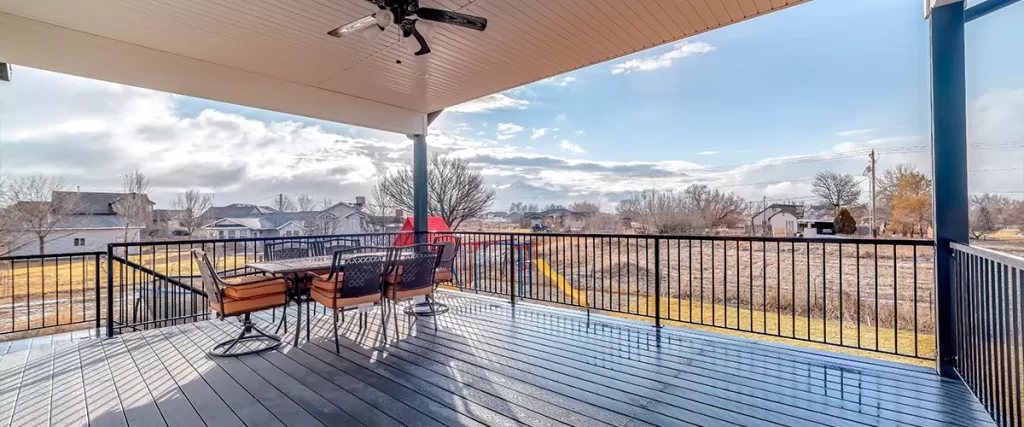
Your local building department is the place to confirm exact requirements for your area, and it’s worth a quick call before you start. Decks more than 30 inches above the ground require a railing with a top rail at least 36 inches above the deck surface, though some jurisdictions require 42 inches.
The International Code Council’s residential code database outlines the national baseline if you want to read the specifics yourself. Local amendments vary, so always verify with your municipality.
A few things that commonly come up during inspections:
- Post attachment must be able to resist a significant lateral load, not just vertical weight
- Baluster spacing has to keep a 4-inch sphere from passing through
- Stair handrail height is measured from the stair nosing, not the deck surface, and typically needs to land between 34 and 38 inches
Corner Posts Need Extra Attention
A corner post sits at the intersection of two railing sections, which means it takes force from two directions. One through bolt setup on a single rim joist face often isn’t enough.
The better approach is to bolt into both rim joist faces that meet at the corner, or to use a corner post bracket designed specifically for that load. If you’re framing a new deck build or doing a significant renovation, extending the corner post down into the deck frame entirely is the strongest option available.
This is also where composite decking complicates things a little. Post sleeves look clean over a 4×4, but make sure the sleeve doesn’t prevent proper bolt access or hide a connection that needs to be inspectable.
FAQ
Can I attach a 4×4 post through the deck board surface instead of the rim joist?
Post bases mounted to the deck surface exist, but bolting through the rim joist into blocking is the stronger and more commonly code-compliant method for railing posts.
How long should my through bolts be?
Long enough to pass through the post, rim joist, and into the blocking behind it, with enough thread showing on the other side for a washer and nut. Measure the combined width before buying.
Do I need to seal the holes after drilling?
Applying wood preservative inside the drilled holes, especially on treated lumber, is good practice. It slows moisture intrusion at the end grain exposed by drilling.
What’s the difference between lag screws and through bolts for this application?
Through bolts go all the way through with a nut on the back side and are generally stronger. Lag screws thread directly into the wood without a nut, which works well when you can’t access the other side.
Does the post need to be perfectly plumb before drilling?
Yes. Check it with a level before drilling the second hole. Once both bolts are in, adjustment is very difficult.
When the Project Gets Bigger Than Expected
Attaching a 4×4 post is satisfying when it goes smoothly. But between locating solid framing, adding blocking, keeping everything plumb, and making sure it all meets code, what looks like a two-hour job can stretch into a full weekend, especially on an older deck with surprises hiding behind the rim joist.
If the deck underneath needs work, or you’re replacing a full railing system rather than one post, it might be worth having someone else handle it. Curious what that looks like? Our deck railing installation page covers how we approach the whole system from post attachment to finished rail.
You might also find it useful to browse our thoughts on how to replace deck railing if the existing system is looking rough, or check out our breakdown of deck post materials if you’re still deciding between wood, composite, and metal before committing.
When you’re ready to hand this one off, call us at (865) 801-4545 or message us here.