If you want to refinish your deck, there are several things you’ll have to do first to ensure a smooth refinish just like professionals do.
One of the most important steps in refinishing a deck is sanding.
Sanding is the process of smoothing out a rough surface with sandpaper. It’s a necessary step in refinishing a deck, and it can be a challenging one.
In this quick guide, we’ll cover the basics of sanding a deck, from choosing the right sandpaper to the process of sanding your deck.
Let’s begin.

The Two Types Of Sandpaper
There are two main types of sandpaper: coarse and fine.
Coarse sandpaper is typically used to strip paint or varnish, while fine sandpaper is better suited for smoothing a surface.
For most decks, you’ll want to use coarse sandpaper first to remove the old finish, followed by fine sandpaper to smooth out the wood.
When choosing sandpaper grit, keep in mind that the coarser the paper, the more effort it will take to sand the deck. Conversely, the finer the paper, the more detail work you’ll be able to do but the longer it will take.
The Ideal Sandpaper's Size
For most decks, 80-grit sandpaper grit is a good starting point. If the deck is in good condition and just needs a light sanding, you can start with 100-grit paper.
For heavily weathered decks, you may need to start with a rough sanding first, and use a 60-grit paper.
Other Tools You'll Need
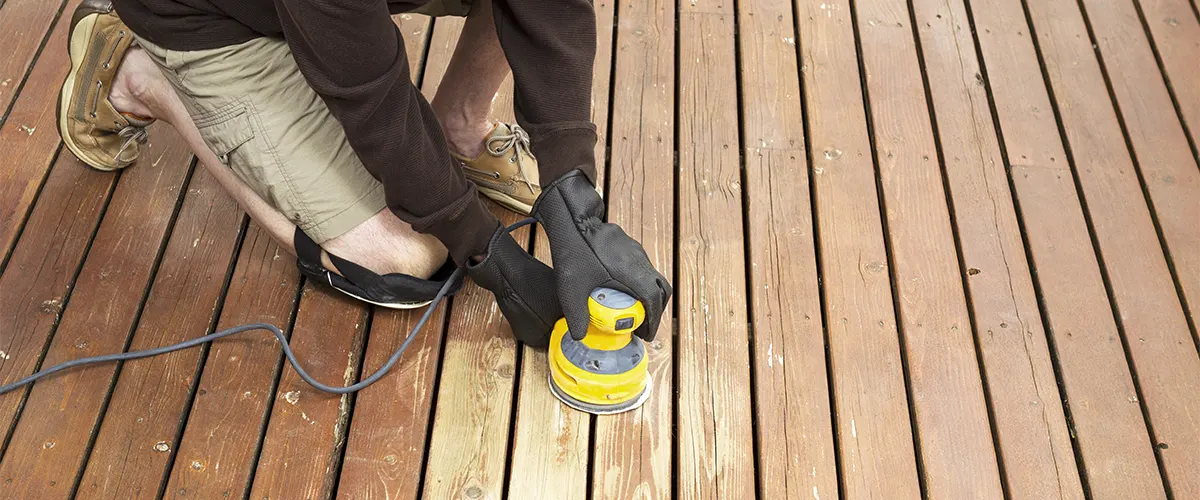
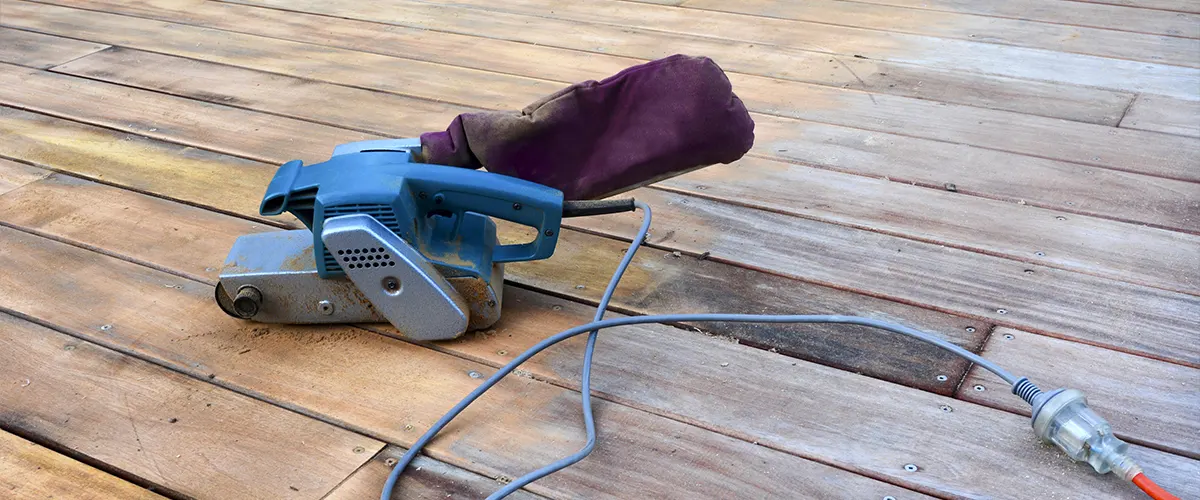
In addition to sandpaper, you’ll also need a power sander. A hand sander can work for small decks, but a power sander will make the job go much faster.
There are two main types of power sanders: orbital and drum.
- Orbital sanders are the most common type and are good for general sanding.
- Drum sanders are primarily used for removing paint or varnish and can quickly damage the wood if not used properly.
When renting a power sander, be sure to ask about any special instructions or tips. The rental company should be able to provide you with everything you need to know about operating the sander.
You could also use a fine sanding spot putty, a wood filler for quick repairs, and a brush or roller to apply to finish that comes after sanding.

The Process Of Sanding A Deck
Sanding a deck like professionals is a must if you want your refinishing project to turn out great.
Let’s see what are the steps to follow:
1. Wash The Wood Decking
Before you start sanding, it’s important to clean the deck. This can be done with a power washer.
If you don’t have a power washer, you can use a garden hose and a scrub brush. Be sure to scrub all the dirt and grime off the surface of the wood. Don’t worry about scratching the wood, as you’ll sand it anyway.
If you’re using a chemical cleaner, make sure it’s safe for plants as well as the surrounding landscape. The oxalic acid and other compounds can be highly damaging to living vegetation if used on a large surface.
Wet sanding is the process of sanding a surface with water. It’s often used to smooth out a surface and remove any scratches or blemishes.
To wet sand a deck, you’ll need a bucket of water, a hose, and a scrub brush.
2. Repair The Decking Surface
If you notice any damaged or rotted deck boards, it’s important to repair them before sanding. Not only it’ll save you a lot of effort later on, but it’ll save you time and money as well.
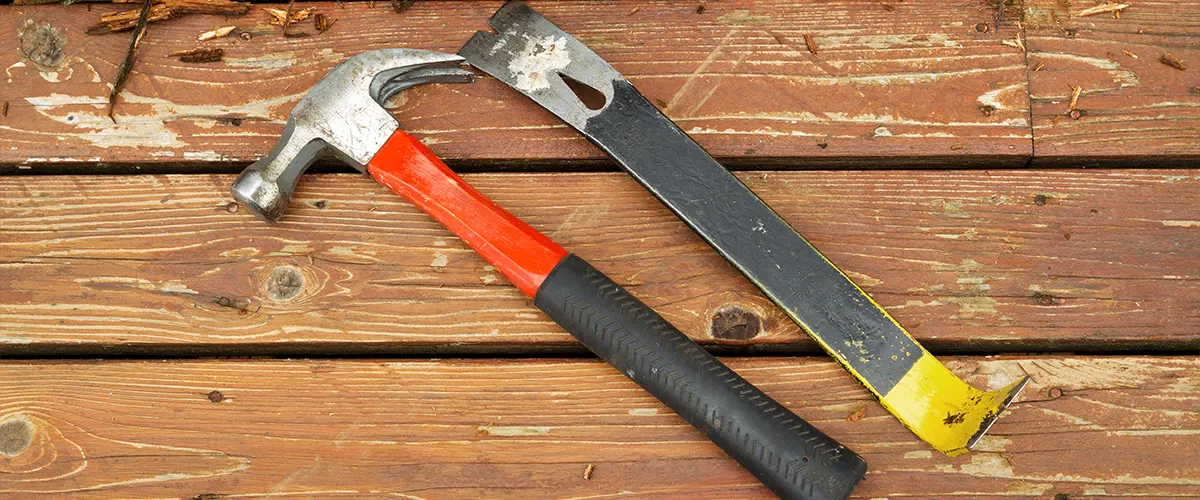
Use a screwdriver or a drill to remove the damaged boards and replace them with a new one. Use screws that are long enough to hold the board in place, but ensure they’re not longer than the width of the board.
Use the same type of wood for best results, but don’t worry too much about it, as you’ll sand the entire decking surface anyway.
For the most common deck repairing projects, check out this article!

3. Start Sanding Your Deck
Sanding a deck can be a dirty, dusty job. To keep the debris contained, it’s a good idea to cover the ground around the deck with drop cloths. You may also want to wear a dust mask, eye protection, and knee caps while sanding.
Begin by sanding the handrails, then move on to the decking boards and the board edges. Be sure to sand with the grain of the wood; sanding against the grain can damage the wood.
Work slowly and carefully, and check often to be sure you’re not sanding too deeply. You can use a finer grit sandpaper and a sand primer for the final sanding.
4. Vacuum The Decking Surface
When you’re finished sanding, vacuum up the debris and wipe down the surfaces with a damp cloth.
What's Next?
After you finish sanding everything down, let your deck dry for several minutes.
You can leave your deck unfinished if you want to keep the natural look of the wood. However, we don’t recommend leaving your deck unfinished, as the wood will be much more susceptible to water damage.
Oil based sealers are a great treatment for wood decks, but you’ll need to do it constantly, at least once every two years. These give a clear coat of a protective layer.
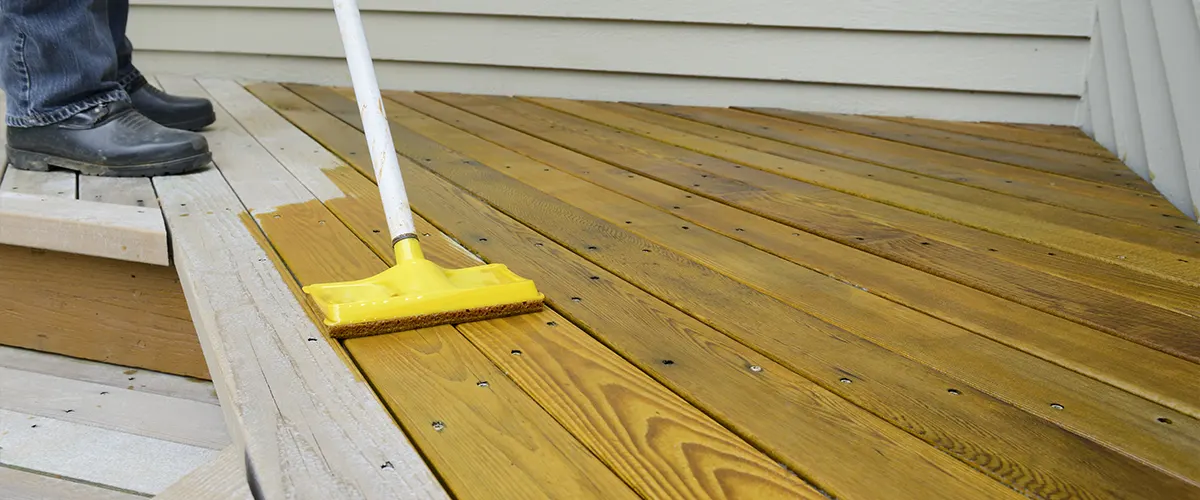
You can also change the look of the decking boards by applying a coat of stain. Stain will make the decking surface more resistant to scratches and will uplift its aesthetic. Stain is not the best if you want a clear coat of finish.
If you want to paint the deck, use a primer coat or a base coat first. For a fine paint job, use a roller on the surface and a brush on the railings. However, paint is not the best finish for a deck, as it gives it little protection.

Is Sanding A Deck Necessary?
Yes! Sanding a deck is essential if you want the end-product to look good. If you decide to skip sanding, the existing stain will remain visible. This will create different hues of colors on your deck, giving it a cheap appearance.
Besides, a new coat of stain will not dry properly on old stain. It’ll flake or start peeling off after a short period of time.
Sanding is crucial if you want to bring your wood deck back to its former glory. Indeed, it’s a time consuming project, but without it, your deck refinishing project won’t look nearly as good as your imagined.
If you’re looking to hire a professional to sand your deck, you’re in the right place. At Riverview Decks, we’re the local experts in building and refinishing decks in Tennessee. Call us today at (865) 801-4545 and let’s get your project started!

