
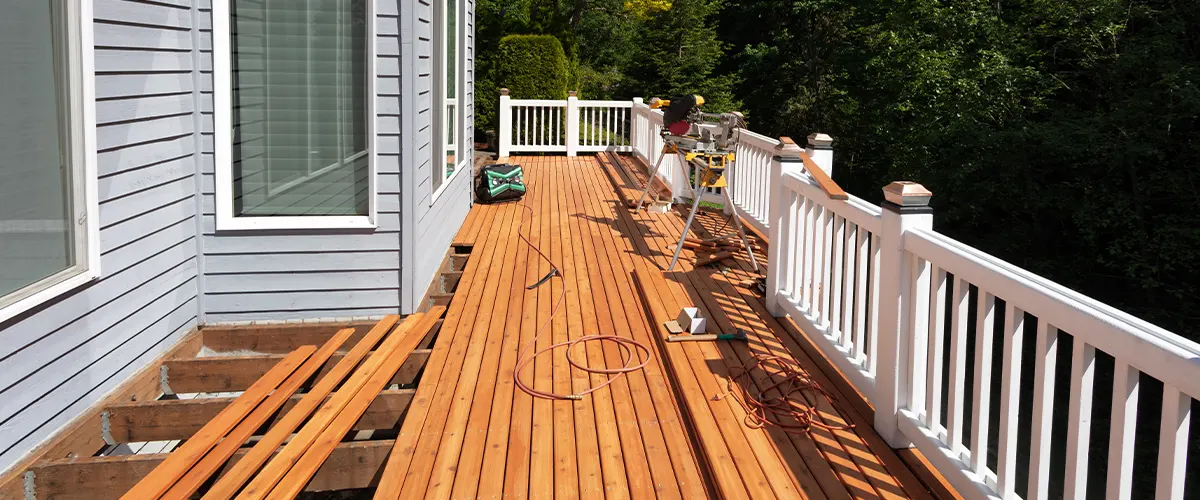
Replacing deck boards on a wood deck is one of the projects that any DIY enthusiast can do with the right tools.
But make no mistake, even if it’s a simple and quick project at first sight, it can turn into a never ending nightmare that you can’t wait to finish to go about your day.
In this guide, we’ll discuss what’s the best way of replacing deck boards. We have a quick and easy process that’ll make your job a whole lot easier.
6 Steps To Replace Deck Boards
In our many years of experience, it’s safe to say that we discovered the best way to replacing deck boards and make your deck seem flawless, even when more than one deck board was changed.
Let’s see the process.
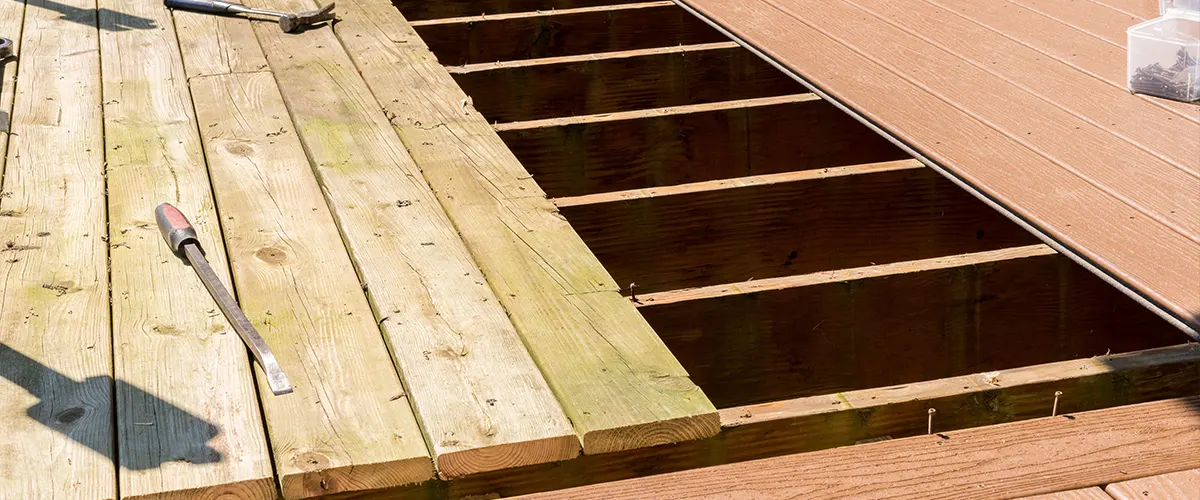
1. Remove The Old Deck Boards
Start by removing all of the damaged deck boards that you want to replace. Remove rotted deck boards, warped boards, bad deck boards, and every damaged deck board. You can do this with a crowbar or a pry bar, but be careful not to damage the other boards in the process.
A common mistake DIYers make is use a good board as a lever. Redwood and cedar are very fragile types of wood, so the pressure you’ll put on them with a pry bar will undoubtedly damage them.
The best way to do this: take a smaller piece of wood that you don’t use and place it on the side of the board you want to remove. Use the smaller piece as a surface for the lever, instead of the good board.
2. Clean The Surface
After you remove all of the damaged deck boards and before you start replacing deck boards, clean the surface of the deck.
Splinters, nails, and pieces of wood can cause problems later on, including injuries.
Besides, working in a clear environment is proven to increase efficiency and comfort.
3. Measure The Deck Boards
Once the surface is clean, measure the space between the joists to determine the exact length of your new deck boards.
You can also measure the damaged boards if they matched perfectly, and use them as the standard length for your new boards.
It’s important to ensure the width of the new boards is the same as the width of the existing deck boards. If it’s not, higher boards can create a trip hazard, and wider boards can break the aesthetics and flow of your outdoor space.
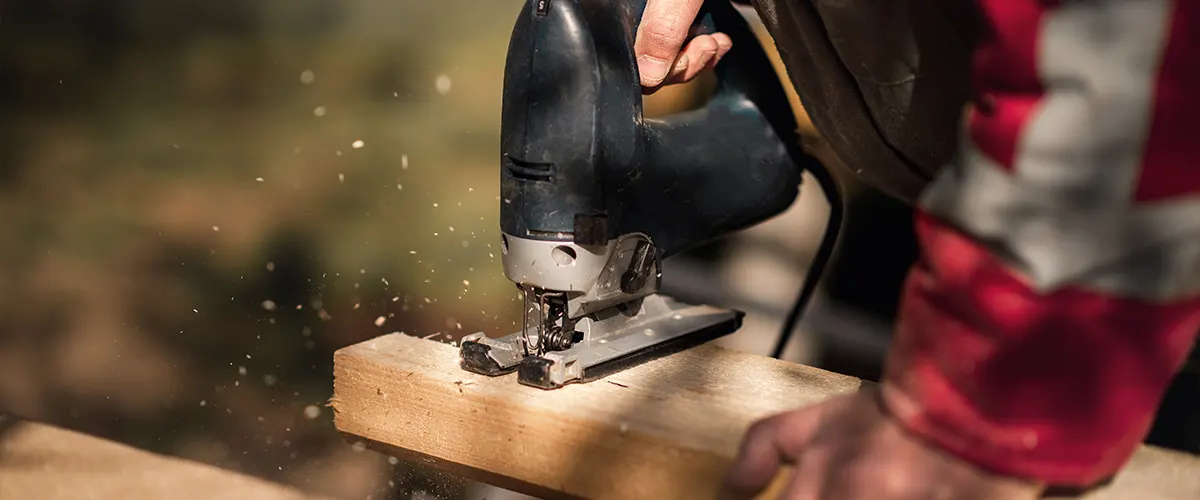
4. Cut The New Boards
When you’re replacing deck boards, you’ll need to cut the new boards to the right dimensions using a circular saw. If you don’t have a saw, you can rent one or hire a professional that can do it for you.
Using a circular saw can be dangerous. These are heavy tools with a devastating power and the potential to cause serious accidents.
If you don’t have any experience using one, or you simply don’t want to risk anything, hiring a professional will be your best bet.
5. Install The New Boards
Install the new boards by nailing or screwing them into place. Depending on the type of wood you’ll use, you might want to drill in pilot holes first, and then screws.
Cedar and most pressure treated lumber, for example, are soft woods so you can screw them without cracking. If you’re using a hardwood, hammering down a nail or screwing without a pilot hole can result in breaking the board.
Make sure the new board is straight and level, and start screwing. We recommend galvanized deck screws, as they’re more resistant to corrosion and rust, especially for a deck.
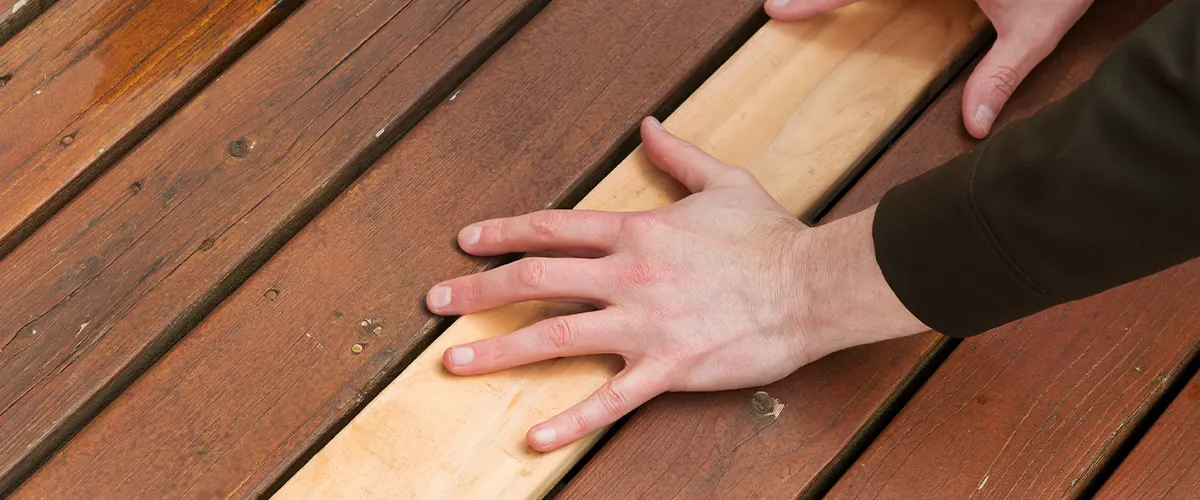
6. Finish Up
If you replace boards at the edge of the deck, trim the edge off to create a flush surface, even with the existing boards.
Right now, the new boards will look different than the existing ones. There’s a couple of things you can do:
- If you only replace a few boards and the rest of the deck still looks good (the stain is not faded), you can finish the new boards with the same finish, or at least a similar one.
- If the rest of your deck's surface is faded, the best way to make the new boards match the existing ones is to sand the entire deck and refinish it. Use the same stain on every board, and no one will be able to tell that you replaced some of them. Check out our guide to sanding a deck here.
Conclusion
Replacing deck boards is a relatively easy project that anyone can do. Follow the steps above and you’ll have your old deck looking like new in no time.
But remember, this can turn into a never-ending project. A nightmare that you want to finish as soon as possible. Why? Wrong dimensions, a wrong finish, troubles cutting the boards, and damaging other boards in the process.
If you have some experience with building or repairing decks, you can try replacing deck boards on your own. If you’d rather not take any risks, hiring a professional will be the best way forward.
Tip: If you’re in the process of replacing decking boards, get a new composite decking instead. These are low maintenance decks that are much more durable and resistant. Besides, you won’t spend so much time maintaining them.
Riverview Decks is your local deck builder in Tennessee. We focus on your well-being and your needs at all times during your project. Contact us at (865) 801-4545 to talk about your upcoming project, or request a free quote today!