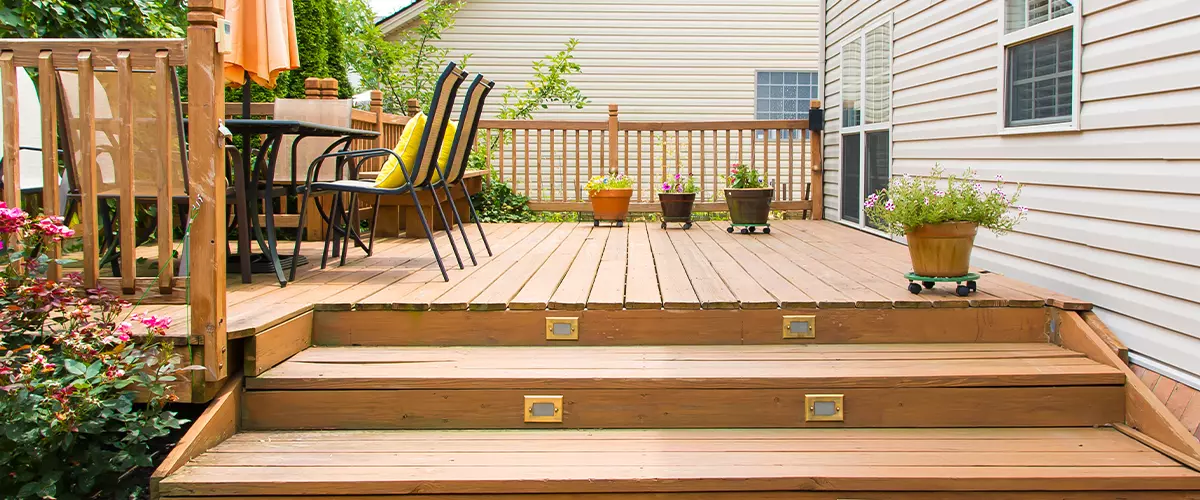
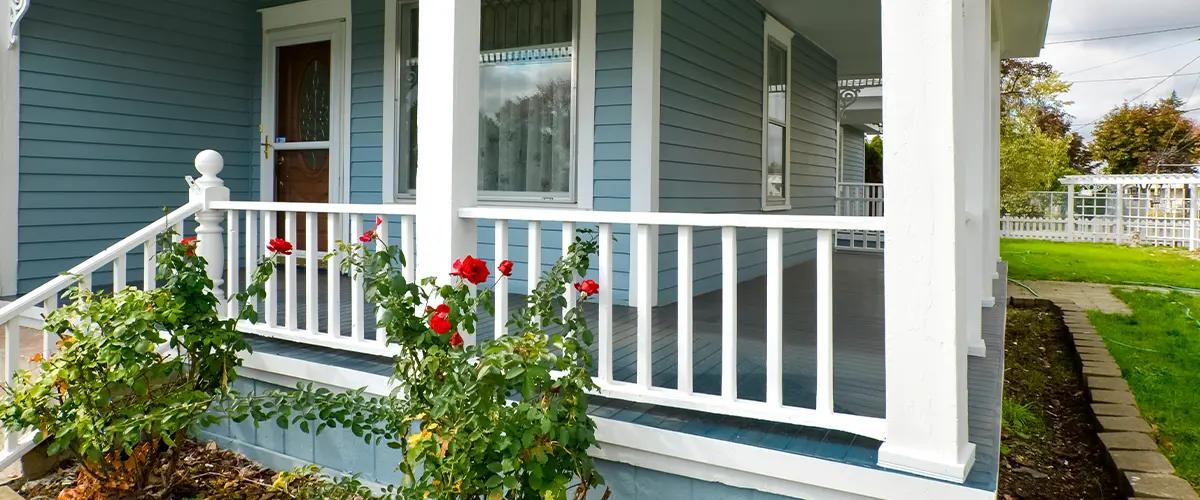
Are you dreaming of having your very own deck but feeling overwhelmed by where to start? Building a deck not only adds valuable outdoor space to your home, but can also increase property value by over 70%.
This comprehensive guide will simplify the process for you, providing step-by-step instructions on how to plan for building a deck. Dive in and discover how we’ll take you from sketching ideas all the way to laying down the last decking plank, turning that dream into reality.
Table of Contents
Key Takeaways
- To build a deck, start by making a detailed sketch of your design. Include the size, railing layout, and location of stairs.
- Always consider the overhang in your plan. It protects your house foundation from rainwater and can also add to the look of the deck.
- Use a guide when building your deck. This will help with accurate measurements and assembly for each step.
- Pick the right hangers to connect joists to the ledger board securely, which helps prevent sagging decks in the future due to weak connections between components.
- When installing posts for your deck, ensure they're straight using a level line before proceeding further, ensuring longevity against bug infestation, including termites compromising outdoor space beauty.
- Flashing effectively protects the ledger board from moisture damage. Ensure you've covered potential leak spots properly during its installation process, avoiding water damage to both structures later on.
Helpful Tools for Building a Deck
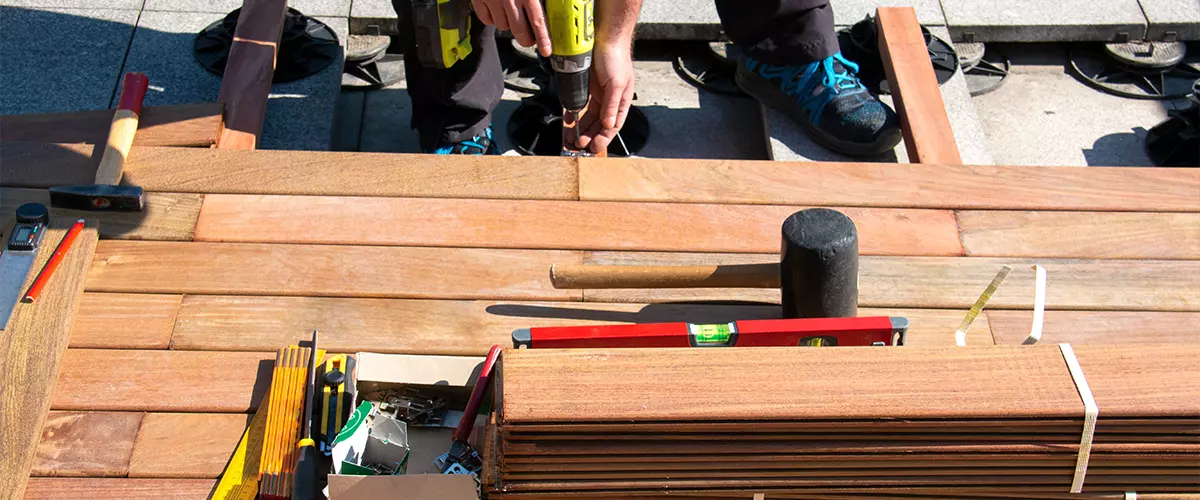
Tools and Materials Needed
Embarking on a deck-building project requires an array of tools and materials that ensure your work progresses smoothly and results in a sturdy, professionally finished structure. Here’s a list of some essential items you should have ready:
- Tape measure: This is instrumental in ensuring accurate measurement of your deck size.
- Circular saw: This tool comes in handy when trimming the decking boards to fit perfectly.
- Power drill: You’ll use this to install screws into the deck material, keeping it secure.
- Level: To maintain symmetry and balance, a level helps verify if your surface is even.
- Shovel: Used for digging holes for setting the posts deep into the ground.
- Post-hole digger: This aids in creating deeper holes for more stability.
- Concrete mix: Essential for securing the deck posts firmly in place.
- Wheelbarrow or bucket: For mixing and transporting the concrete.
- Screwdrivers or bits: Needed to tightly fasten screws during assembly.
- Hammer or mallet: Useful tool for joining parts together.
- Decking material (wood or composite): The main component that forms your deck’s surface.
- Joist hangers and ledger boards: Structural parts of a deck that are crucial in creating a strong foundation.
Importance of Proper Deck Construction
Proper deck construction is the cornerstone of a safe and durable outdoor space. The way you build your deck impacts its lifespan, usability, and overall appeal. More than just selecting attractive decking materials, the process involves structural considerations that are vital to ensuring stability and longevity.
A well-constructed deck can withstand harsh weather conditions while providing a comfortable area for relaxation or entertainment. Additionally, it ensures safety by preventing accidents caused by weak structures such as collapsing boards or failing railings.
Properly built decks also require less frequent maintenance, saving homeowners time and money in the long run.
Key Steps for Planning and Building a Deck
To begin with, planning your deck design is just as crucial as the physical construction itself.
This phase will not only determine the aesthetic appeal of your outdoor space but also its functionality and longevity.
For wood deck enthusiasts, the selection of deck boards, their layout, and treatment against weather elements form a significant part of this process.
If you have an existing deck, critical considerations will include its revamp in line with the new design, and how it synchronizes with your outdoor furniture.
In this section, we will delve into the key steps to planning and building a deck, providing a roadmap to create a beautiful and practical outdoor living space.
Start with a Sketch
Sketching your dream deck is the crucial first step in bringing it to life. Use grid paper to ensure accurate measurements, and create multiple drafts until you find the perfect design. A detailed sketch not only guides construction but also aids in obtaining building permits.
Mind the Overhang
An overhang on your deck serves multiple purposes. It protects your house’s foundation from rainwater dripping off the edge of the deck. Consider factors like wind direction and roof pitch to determine the ideal measurement, usually around 1-2 inches.
Optimizing the overhang ensures structural resilience and enhances visual appeal. It provides shade and shelter during harsh weather, transforming your outdoor space into a comfortable oasis. With careful planning, homeowners can achieve both functionality and design sophistication in their DIY deck projects.
Use a Guide
Using a guide is crucial for planning and building your deck. It provides step-by-step instructions for accurate measurement, cutting, and assembly of deck parts. A well-structured guide simplifies the decking process by breaking down complex tasks into manageable steps.
From setting up batter boards to marking post locations, it ensures smooth project execution. One valuable tip: faithfully follow the guide, as each step contributes to creating a beautiful deck that complements your outdoor space.
Ensure Proper Hangers
Choosing the right hangers for your deck project is crucial. They provide support and stability, connecting your joists to the ledger board securely. High-quality galvanized or stainless steel hangers resist corrosion and can handle weather elements effectively.
Don’t skimp on this hardware; a weak connection between components can lead to sagging decks over time. Ensure they fit snugly with the size of your joists, neither too loose nor too tight.
Installation may require specific tools like a pneumatic nailer to fasten them properly, ensuring safety standards are maintained for years of enjoyment on your newly built deck.
Digging Footings and Setting Posts
Excavating footings and establishing posts form the cornerstone of your deck-building process. This step lays the groundwork for a stable and secure structure, setting up a strong base to build upon.
- Identify post locations: Mark out where your posts will go according to your deck plan. A well-drawn plan ensures accurate measurements for a balanced and symmetrical deck.
- Dig holes: Use an auger or post-hole digger to create deep enough holes. The depth should be below the frost line in colder regions, as per local building codes.
- Prepare footing form: Round cardboard tubes work effectively as footing forms. Cut them according to the required depth, then place them in each hole.
- Pour concrete: Fill each footing form with mixed concrete till slightly above ground level. Use a trowel to make the top smooth, and allow it to set for 24 hours.
- Embedding post base: Once the concrete sets, embed galvanized post bases into it while still wet, making sure they are positioned accurately.
- Attach posts: Mount pressure-treated lumber on these post bases after they dry out completely using heavy-duty bolts or screws.
- Check alignment: Utilize a level line to check the perpendicular alignment of the posts. Ensure that all your posts are standing straight before proceeding further in deck construction.
- Regular maintenance: Treat wood posts with preservatives annually for longevity against rotting and bug infestation, including termites, which can compromise your beautifully built outdoor space.
Flashing the Ledger
Flashing the ledger forms an essential part of deck building.
- First, choose a suitable flashing material. Aluminum or copper typically offer the best choices.
- Cut a strip of flashing that goes from your house’s siding to 1 – 2 inches over the ledger board.
- Apply construction adhesive on the wall where you’ll attach the flashing.
- Install the top half of it behind the siding if feasible. If not, firmly press it against the wall, allowing it to bend over onto your ledger board.
- Secure the flashing in place with roofing nails but avoid placing them at places that allow water to seep behind.
- Check thoroughly for any potential leak spots and cover them properly with additional adhesive or sealant.
Attaching the Ledger
Securing the ledger board to your house is an important step in building your deck; here’s how to do it right:
- Lay the ledger against the house, properly aligning it.
- Use a level to ensure that it’s straight.
- Mark positions for lag screws or bolts onto the ledger and wall.
- Drill pilot holes into both the ledger and wall, ensuring they match up.
- Insert the lag screws or bolts tightly into these holes using a spanner or wrench.
- Reinforce with a washer and nuts if necessary for added strength.
- Check again with a level to make sure nothing shifted during the attachment.
- Apply silicone sealant around bolt heads and along the top of the ledger board to prevent water infiltration.
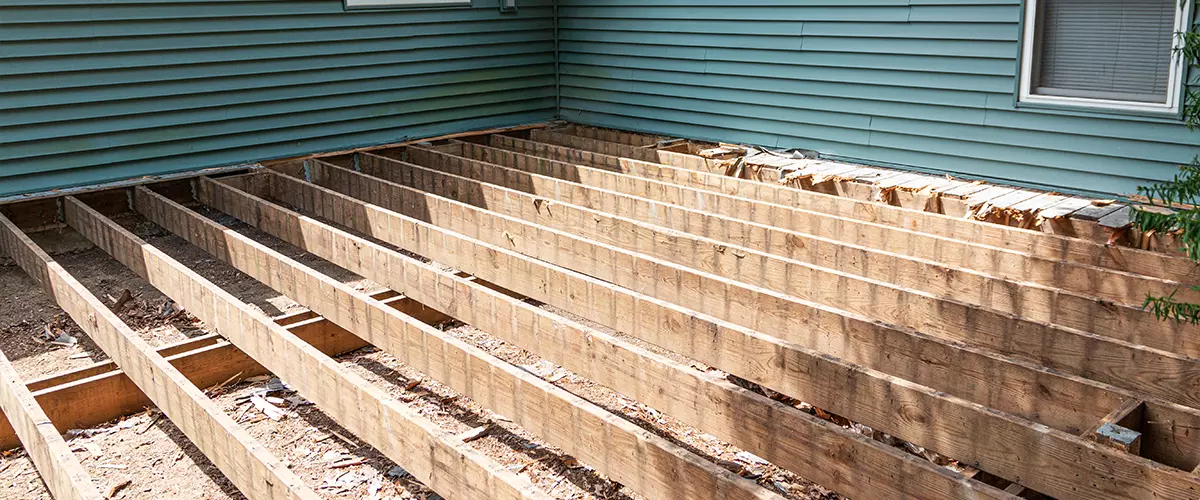
Building Beams and Installing Joists
Creating sturdy beams and installing joists are crucial steps in deck building. Follow these instructions:
- Select the appropriate lumber: Use pressure-treated wood or composite materials for longevity and durability.
- Construct your beams: Connect two pieces of dimensional lumber together with deck screws or nails to form a beam.
- Install post bases: Position them where you want your beams to rest, ensuring they align with building codes.
- Secure the Beams to Post Bases: After marking the height on each post, place your constructed beam on top, securing it using specific hardware designed for this task.
- Measure for Joist Hangers: Determine placements for joist hangers along the ledger board and rim joists, keeping them 16 inches apart as per standard practice.
- Install Joist Hangers: Affix these metal brackets into the exact spots you’ve measured out using galvanized nails or screws.
- Insert Joists Into Hangers: Carefully slot your cut-to-size joists into their respective hangers, ensuring each one fits snugly.
- Secure Joists: Fasten each joist in place by driving screws or nails through the holes provided on the sides of each hanger.
Creating a Strong Post-to-Beam Connection
Creating a strong post-to-beam connection is crucial in building a sturdy and safe deck. Here are the steps to follow:
- First, measure and mark the post location on your beam.
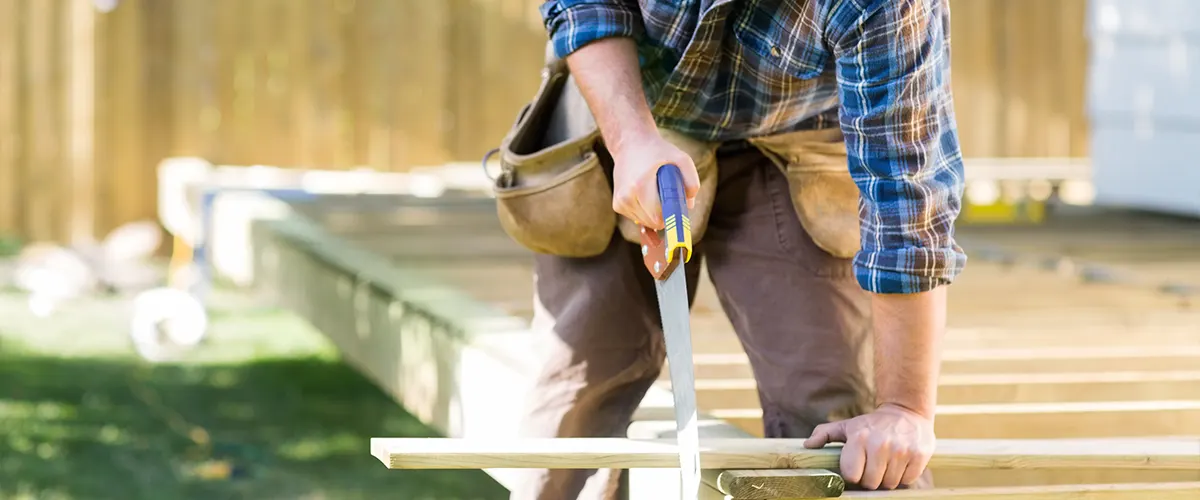
- Use a circular saw to cut the post at your mark.
- Position your beam on your post, ensuring alignment with your marks.
- Secure the beam to the post using two 1/2-inch bolt fasteners.
- Drill holes through both the post and beam for your bolts.
- Insert your bolts into these drilled holes.
- Tighten nuts onto the ends of your bolts, creating a secure connection.
Installing the Rim Joist
Installing the rim joist is an important step in deck construction. Here’s how you can do it:
- Measure the frame’s outer edge to determine the length of your rim joist.
- Cut the rim joist out of a similar material as your other joists.
- Position the cut rim joist along the outermost edge of your deck frame.
- Use galvanized or stainless steel screws to attach the rim joist to the end of each floor joist within your frame.
- Ensure to use two fasteners per board end for robust attachment.
- Keep an eye out for any irregularities or misalignments and correct them before proceeding to the next step.
Choosing the Right Decking Material
Choosing the right decking material can significantly influence your deck’s longevity and finish. Wood decks, especially those made from pressure-treated wood or natural wood like redwood or cedar, are traditional favorites due to their aesthetic appeal.
However, they need regular maintenance to resist the impact of harsh weather conditions.
On the other hand, composite decks have become popular in recent years owing to their durability and low maintenance requirement.
Made from a blend of plastic and wooden fibers, composite decking materials resist warping and insects better than many real woods.
They also come in various colors to match any aesthetic preference you might have for your outdoor space. Despite being slightly pricier than natural wood options upfront, they may save you money over time with less upkeep needed.
Installing Modern Cable Railing
Deck construction advances with the installation of modern cable railing. Here’s how to proceed:
- Gather Materials: Ensure that you have all the necessary materials ahead of time, including stainless steel cables, cable rail hardware, and tools.
- Measure Accurately: Take accurate measurements of your deck to determine the length and thickness of the cables needed.
- Install Posts: Begin by installing posts at carefully measured intervals around your deck.
- Drill Holes: Make use of a power drill to create evenly spaced holes in each post for the cables to run through.
- Thread Cables: Insert one end of each cable into an end post hole and slide it through until it reaches the opposite post.
- Secure Cables: Attach a tensioning device to both ends and tighten until taut, being careful not to over-tighten as this can deform or break the cable.
- Test Stability: Once installed, check for stability by applying pressure against the cable railing.
- Repeat Process: Continue this process until all cables are securely installed.
Tips for a Successful Deck Construction
Ensure your deck construction is successful by following these tips: Use surface-mount posts for stability. Install rails and spacers correctly to avoid any structural issues in the future.
Feed and tension the cable properly to secure all parts of the deck together. By doing so, you’ll make sure your new outdoor space stands up to use and weather alike while serving as an inviting space for relaxation and entertainment.
Surface-Mount Posts
Surface-mount posts provide essential support and stability to your deck. Careful positioning ensures the structure can withstand diverse weather conditions and frequent use. Selected for both their functionality and aesthetic appeal, these posts are typically made from durable, long-lasting materials like steel or pressure-treated wood.
The specific placement follows defined steps for optimal results. Begin by marking outpost positions according to your blueprint. Next is securing each surface-mount post solidly on the deck floor using bolts or screws.
Regular maintenance checks keep them in top-notch condition, enhancing your deck’s lifespan while maintaining a clean, modern look.
Installing Rail and Spacers
Installing the rail and spacers effectively is a crucial step in deck building.
- Measure your deck’s perimeter to determine the number of rails needed.
- Purchase railings and spacers from a reputable supplier.
- Cut your railings to the correct length using a circular saw.
- Align and attach your first railing at one corner of the deck using screws.
- Place the spacer next to the attached railing.
- Attach the second railing right next to the spacer.
- Continue this process around the entire perimeter of your deck.
- Ensure all screws are tightened correctly for stability and safety.
- Review your work, ensuring that all railings are even and secure.
Properly Feeding and Tensioning the Cable
Ensure your deck is safe and secure by properly feeding and tensioning the cable. Here’s how you can do this:
- Feed the cable through the post holes, ensuring equal lengths on both ends.
- Insert a ferrule onto one end of the cable and crimp it securely.
- Pull the other end of the cable tight until you achieve the desired tension.
- Attach a quick-connect fitting to hold the tension.
- Trim any excess cable for a clean look.
- Repeat this process for all cables in your deck railing.
How To Plan For Building A Deck FAQs
Yes, you can draw your own deck plans. This is a common practice in DIY deck projects. You’ll need to decide on the size, shape, and location of your new deck.
Then, choose your deck materials, such as a composite deck, based on your preference for maintenance and aesthetics. Be sure to take local building codes into consideration. Once you have a plan, you can start purchasing materials and building your new deck.
No, an architect is not mandatory for drawing deck plans. Many homeowners successfully undertake DIY deck-building projects. However, hiring an architect can be beneficial if your project is complex or if you desire a professionally designed look. It’s also essential to ensure your design complies with local building regulations.
Estimating the cost of building a deck involves several factors. Start by determining the size of the deck – the larger the deck, the higher the cost. You’ll also need to choose the type of materials – wood is typically less expensive than composite, but it may require more maintenance over time.
Don’t forget to factor in the cost of railings, stairs, and awnings, if needed. Labor costs will also come into play if you’re hiring professionals to build the deck. It’s always wise to get a few estimates from different contractors to ensure you’re getting the best deal. Lastly, remember to budget for any permits or inspections required by your local government.
Partner With TN's Top Deck Builder
If you’re looking to create a stunning outdoor space without the hassle of doing it yourself, consider reaching out to us at (865) 801-4545. As licensed deck builders in Tennessee, we understand the ins and outs of constructing durable, safe, and appealing decks that comply with all building codes.
Our extensive experience and skills not only ensure a high-quality result but also save you valuable time, effort, and potentially costly mistakes. Our licensing provides you with the peace of mind of knowing that your project is handled by professionals who are accountable and dedicated to delivering excellent results.