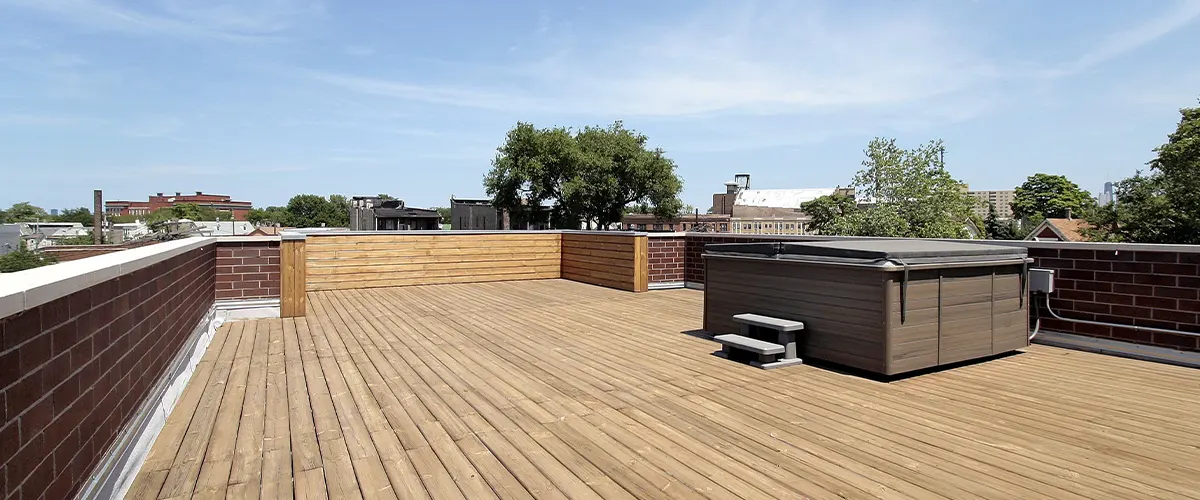
Picture this – the warm sunshine, the gentle breeze, and the laughter of loved ones on your beautiful deck. But wait, what’s that? A damaged, weather-worn deck board ruining the perfection of your outdoor haven?
In this article, we’ll walk you through the process of assessing, removing, and replacing that troublesome deck board. Armed with a handy list of tools and materials, you’ll be well-prepared to tackle this task like a pro.
We’ll also indulge in a fascinating comparison between two popular decking materials – Trex and TimberTech – so you can make an informed choice for your future decking projects.
How To Tell When Deck Boards Need Replacing
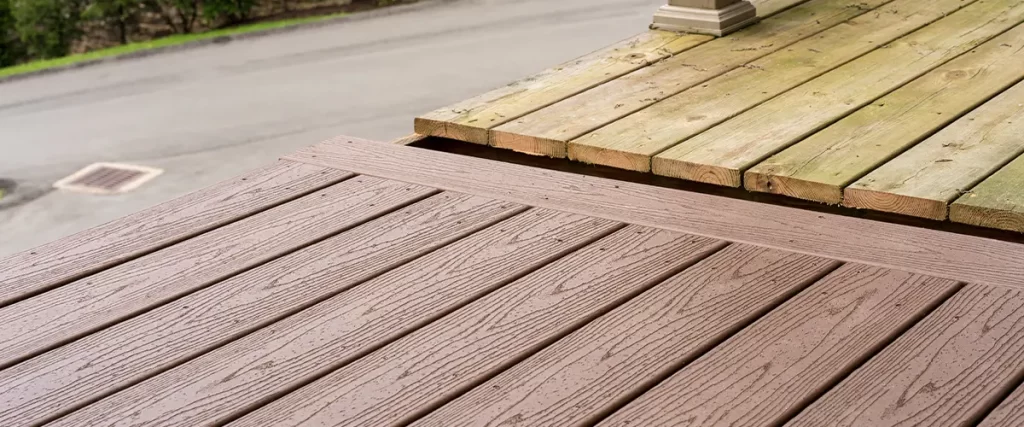
- Check for Visible Damage: Examine your deck boards for visible signs of damage, such as cracks, splinters, or significant warping. If the wood grain appears worn or faded, it may be time for new deck boards.
- Rotted or Decayed Deck Boards: Pay close attention to any soft spots or areas with signs of rot on the deck boards. Rotted deck boards compromise the structural integrity and safety of the entire deck.
- Excessive Wear and Tear: If your deck boards show excessive wear from constant use, exposure to weather elements, and foot traffic, it's a clear indication that they may need replacement.
- Loose or Raised Nails/Screws: Inspect the deck surface for any nails or screws that have become loose or raised. Such protrusions pose safety hazards and may require the replacement of affected boards.
- Visible Mold or Mildew: Moisture-related issues can lead to mold and mildew growth on deck boards. If left unchecked, it can spread and damage the wood, necessitating the replacement of affected boards.
- Joist Damage: Carefully inspect the joist spaces beneath the deck boards. If you notice damaged or rotted joists, it's crucial to replace the deck boards above to prevent further structural issues.
- Cracked Composite Decking: For decks with composite decking, look out for cracks, fading, or discoloration that might indicate the need for replacement boards.
- Excessive Gaps between Boards: If the gaps between your deck boards are irregular or too large, it may indicate that the wood has shrunk or become unstable. Replacing a few deck boards may be necessary to maintain a uniform and safe surface.
- Lumber Crayon Test: Perform a simple test by marking the deck boards with a lumber crayon. If the marks remain visible even after cleaning, it might be time to consider new boards.
- Frequent Maintenance and Repairs: If you find yourself constantly repairing individual deck boards, it could be a sign that the entire deck needs a more comprehensive overhaul or full deck replacement.
Remember, the lifespan of deck boards can vary depending on the wood species, pressure-treated wood, composite materials, and the level of maintenance and protection from the elements they receive.
Regularly assessing your deck boards and addressing any issues promptly will ensure your outdoor space remains safe, functional, and aesthetically appealing.
If you are unsure about the extent of the damage or the right course of action, consult a professional deck repair and replacement service to guide you through the process.
Choosing a Replacement Deck Boards
When it comes to selecting a replacement board for your deck, the process is quite straightforward.
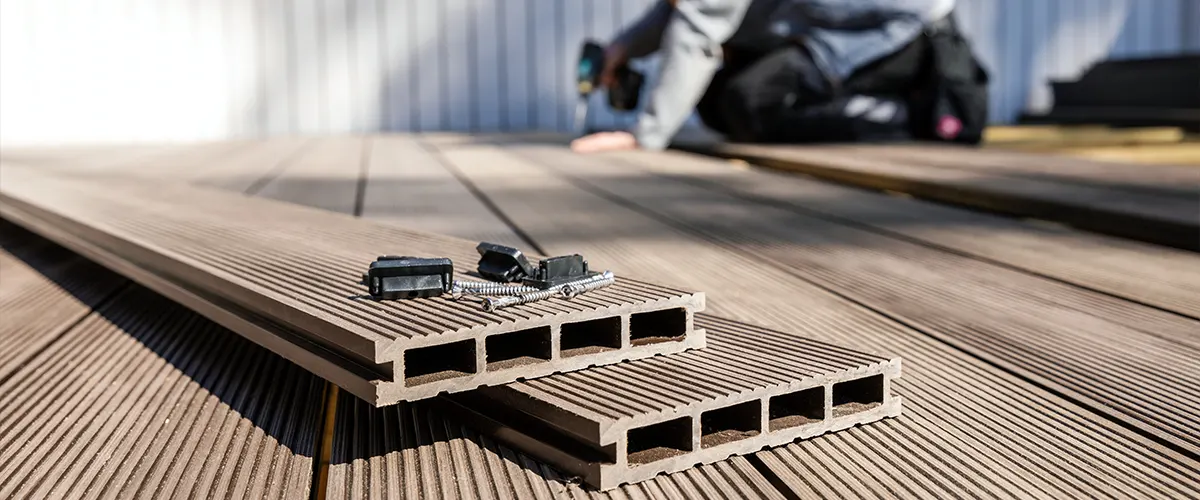
Most decks use 5/4 boards, which are 1-1/4 inches thick. To ensure a good match, you need to focus on two main factors: the size of the existing boards and the wood species used.
Measure and Match Size
Consider the Wood Species
Decks can be made from various types of wood, but common choices include cedar, redwood, and pressure-treated yellow pine. Try to identify the wood species of your existing boards. To do this, take a small piece from the boards you’re replacing with you to the lumberyard or hardware store.
Compare the appearance and smell of the sample with the boards available for purchase. This will help you find a replacement board that closely matches the look of your existing deck.
How To Replace Deck Boards
- Safety goggles
- Work gloves
- Pry bar or deck board removal tool
- Hammer
- Tape measure
- Circular saw
- Speed square
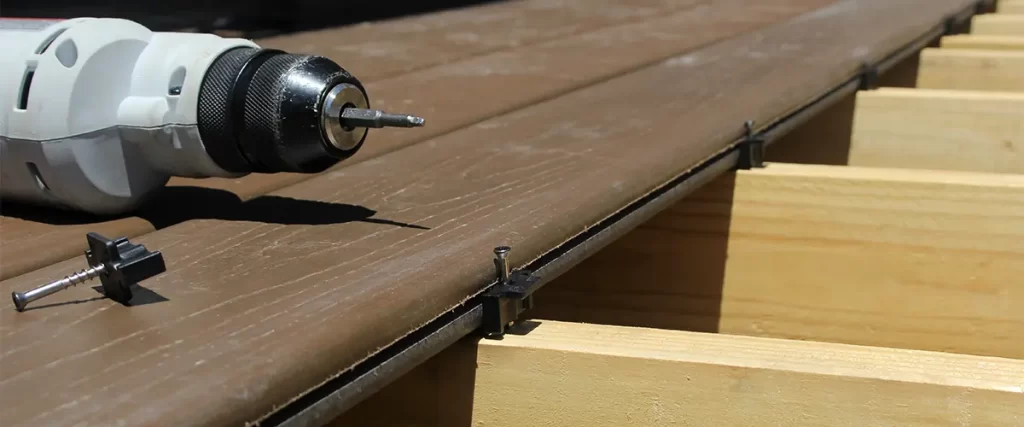
- Drill/driver
- Screws or nails (appropriate for your decking material)
- Replacement deck board (matching the existing material)
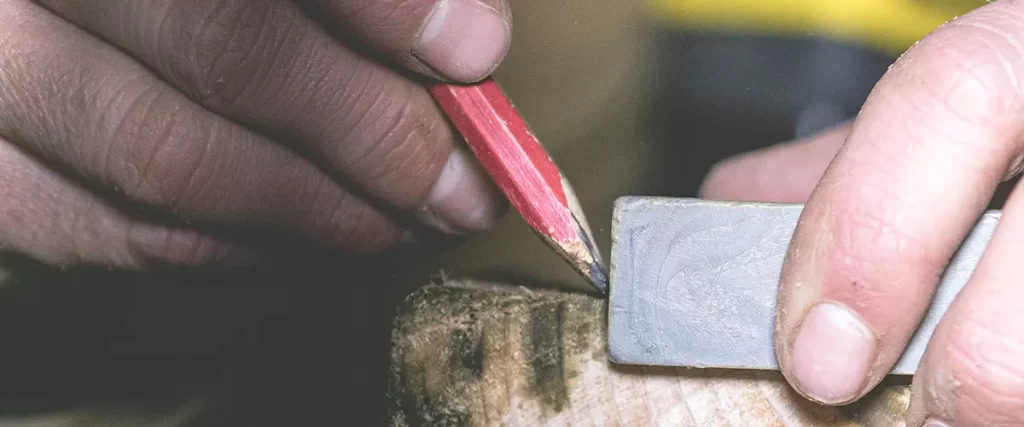
- Sandpaper
Step 1: Assess the Damage
Step 2: Safety First
Step 3: Remove the Damaged Deck Board
Step 4: Measure and Cut the Replacement Board
Step 5: Prepare the Replacement Board
Step 6: Install the Replacement Board
Step 7: Finishing Touches
Trex vs. Timbertech
In the vast and ever-evolving world of decking materials, two prominent contenders stand out as giants in the industry – Trex and TimberTech.
If you find yourself navigating the treacherous waters of deck-building choices, fear not! We present to you a comprehensive comparison table that will shed light on the unique features, advantages, and distinctions between these two renowned decking brands.
| Aspect | Trex | TimberTech |
|---|---|---|
| History | Trex invented composite decking in 1996 and offers a full line of products, including decking, railings, lighting, and outdoor furniture. | TimberTech entered the composite decking market in 1997 and is now known for its innovation in composite railing systems. |
| Materials and Capping | Trex caps only the top of the boards, allowing moisture to escape from the bottom. | TimberTech boards are fully capped with PVC coating, sealing out all moisture. |
| Durability | Trex Transcend is highly durable and resists scratching better than most other options. | TimberTech offers durable products with realistic-looking boards. |
| Pricing | Trex and TimberTech offer several tiers of composite decking products, with pricing varying based on deck size and add-ons. | TimberTech tends to be a bit more expensive than Trex in the lower-end options. |
| Warranty | Trex offers a 25-year fade and stain warranty for all capped composite decking. | TimberTech provides a 30-year warranty for their capped composite decking. |