
Sanding your deck is one of the easiest ways to refresh its look and feel. Whether you’re prepping it for a new stain or just trying to smooth out rough spots, sanding makes your deck more comfortable and visually appealing. The right tools make the job faster and easier, so let’s dive into the best options for your project.
Belt Sanders: The Power Tool for Big Jobs
If you have a large deck with wide, flat boards, a belt sander is a great choice. These tools use a loop of sandpaper to quickly and evenly sand large surfaces. They’re powerful, making them ideal for older or heavily worn decks. However, they do require a steady hand to avoid accidentally sanding too much in one spot.
One tip for using a belt sander is to keep the tool moving. Staying in one place too long can cause uneven spots or damage to the wood. Also, make sure to use the correct grit of sandpaper. Start with a coarser grit for rough boards and switch to a finer grit for a smoother finish.
Orbital Sanders for a Smooth Finish
Orbital sanders are smaller, lightweight, and easy to control, making them perfect for beginners or for decks with smaller surface areas. They move in a circular motion, helping you achieve a smooth, even finish without leaving visible marks. If your deck doesn’t need heavy-duty sanding, this tool is a fantastic choice.
Orbital sanders also work well for in-between maintenance. If your deck has a few rough spots but doesn’t need a full overhaul, an orbital sander can handle the job quickly. Plus, they’re more affordable than larger, heavy-duty tools, making them a great option for most homeowners.
Detail Sanders for Hard-to-Reach Areas
Sometimes, the trickiest parts of your deck are the corners and spaces around the railings. That’s where a detail sander comes in. It’s designed to reach those tight spots where larger tools can’t fit, making it perfect for finishing touches or intricate deck designs.
A good detail sander is lightweight and easy to control, so you don’t have to worry about accidentally sanding areas you didn’t mean to. It’s a time-saver for anyone with complex deck structures or railings that need extra attention.
Drum Sanders for Heavy-Duty Sanding
If your deck is uneven or has deep grooves, a drum sander might be your best option. This heavy-duty tool is powerful enough to remove warped or weathered wood quickly. It’s not as beginner-friendly as other tools, but it’s worth considering for rough-shaped decks.
Drum sanders can be rented from most hardware stores, so you don’t have to buy one for a single project. However, they do require a bit of practice to use effectively. Start slow, and let the machine do the work without applying too much pressure.
Why Sandpaper Grit Matters
Using the right sandpaper is just as important as picking the right tool. Coarse grit, like 40 or 60, is perfect for removing old paint, stains, or rough surfaces. Once that’s done, you can switch to finer grit, like 80 or 120, to smooth the wood for a polished finish. Always have a variety of sandpaper on hand so you’re ready for different parts of the deck.
If you’re unsure which grit to use, start with a coarser one and test it on a small section. You can always switch to a finer grit once you’re happy with the results. Sanding in stages gives your deck the best finish possible.
Pole Sanders for Manual Sanding
Prefer to go old school? A pole sander lets you sand manually without crouching or kneeling. It’s a long stick with a sanding pad on the end, perfect for light sanding or touch-ups. It’s slower than power tools, but it’s a great option for those who want full control over the process.
Pole sanders are also handy for quick fixes. If you spot a rough patch or splintered area, you can use a pole sander to smooth it out without setting up larger equipment. It’s a versatile tool that’s worth having in your arsenal.
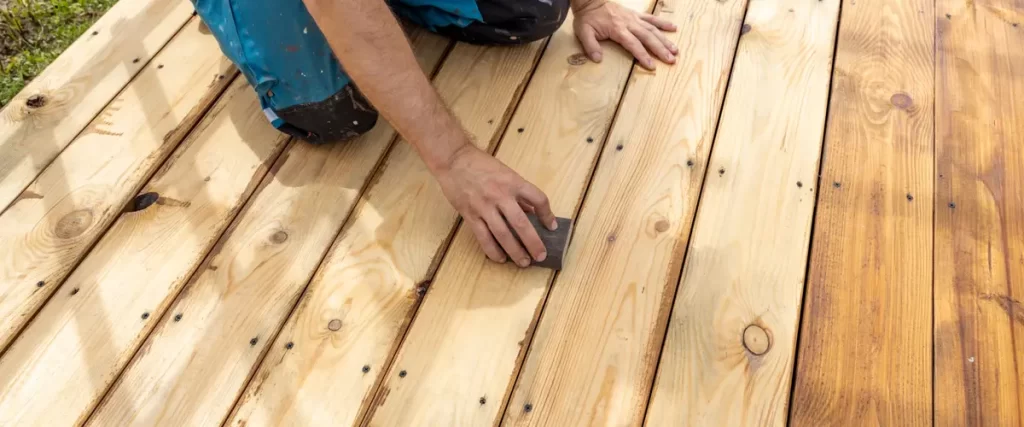
Sanding Sponges for Fine Details
When it comes to curved or detailed areas, sanding sponges are a lifesaver. These flexible sponges can mold to the shape of the wood, making it easy to sand intricate parts of your deck. They’re also great for hand-sanding small areas that need extra attention.
Sanding sponges are especially useful for railings, spindles, and decorative woodwork. Their flexibility allows you to reach every nook and cranny, ensuring a smooth and even surface across the entire deck.
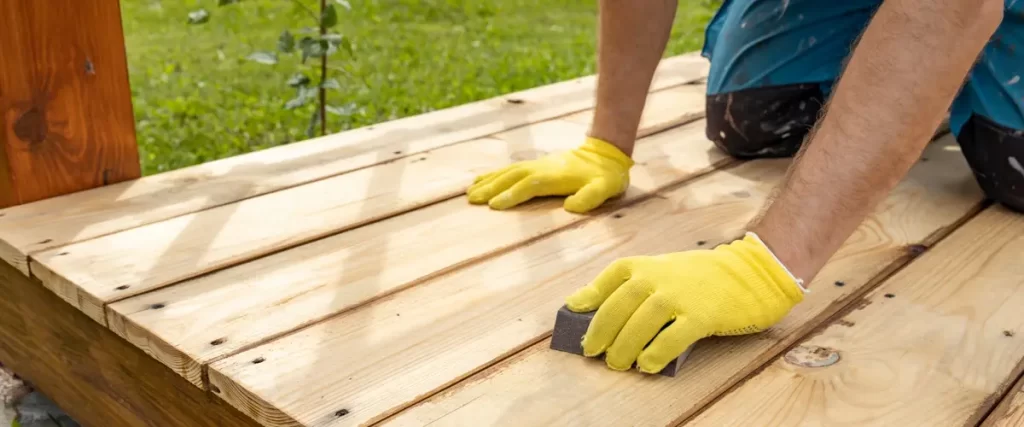
Don’t Forget the Extras
A few additional tools can make your deck sanding project much easier. A shop vacuum is essential for cleaning up dust as you go, keeping the work area tidy and safe. A dust mask is also important to protect your lungs from fine particles. Before you start sanding, make sure any protruding nails or screws are hammered in with a nail set or hammer to prevent damage to your tools.
Prepping Your Deck for Sanding
If your deck has peeling paint or a thick old finish, use a paint scraper or heat gun to remove it before sanding. This step helps expose the bare wood, making the sanding process faster and more effective.
A tack cloth is another great tool for the final step. After sanding, use the tack cloth to pick up any remaining dust or debris. This ensures a clean surface for staining or sealing, giving your deck a professional-quality finish.
Choosing the Right Tool for Your Deck
The tools you choose depend on the condition of your deck and how much work it needs. For light maintenance, an orbital sander or sanding sponge might be all you need. For bigger jobs, a belt or drum sander can save you a lot of time and effort.
Why Hire a Professional?
While sanding your deck can be a DIY project, it’s not always easy or quick. Professionals have the experience and equipment to get the job done efficiently and with great results. At Riverview Decks, we know how to tackle decks of all sizes and conditions, leaving them smooth, safe, and ready for whatever finish you choose.
Protect Your Investment
Your deck is an extension of your home, and keeping it in great shape is an investment in both its appearance and value. Regular maintenance, like sanding and staining, can extend its lifespan and make it a space you’re proud to use.
FAQ
1. What’s the best tool for sanding a large deck?
A belt sander is ideal for large, flat surfaces because it’s powerful and covers more area quickly.
2. Can I sand my deck without power tools?
Yes, you can use manual tools like pole sanders or sanding blocks, but it takes more time and effort.
3. How often should I sand my deck?
Sanding is typically done every 2–3 years, depending on the deck’s condition and exposure to weather.
4. What grit sandpaper should I use?
Start with coarse grit (40–60) to remove rough surfaces or old finishes. Switch to finer grit (80–120) for a smooth finish.
5. Should I sand my deck before staining?
Absolutely! Sanding helps the stain adhere better and creates a more even finish.
Call the Experts
If you’re ready to refresh your deck but don’t know where to start, Riverview Decks is here to help. From sanding to complete deck renovations, we have the tools and expertise to bring your vision to life. Get in touch today, and let’s upgrade your space!