
Attaching decking to your house is a crucial part of building a safe and durable deck. Doing it the right way can make all the difference between a secure outdoor space and a potential hazard. One common mistake is using nails instead of bolts, which can lead to deck collapse and serious injuries.
In this article, we’ll walk you through the right steps to properly attach your deck to your house. From choosing the right materials to step-by-step installation tips, we’ve got you covered!
Let’s make sure your deck is safe, sturdy, and built to last!
The Benefits Of Having An Outdoor Deck
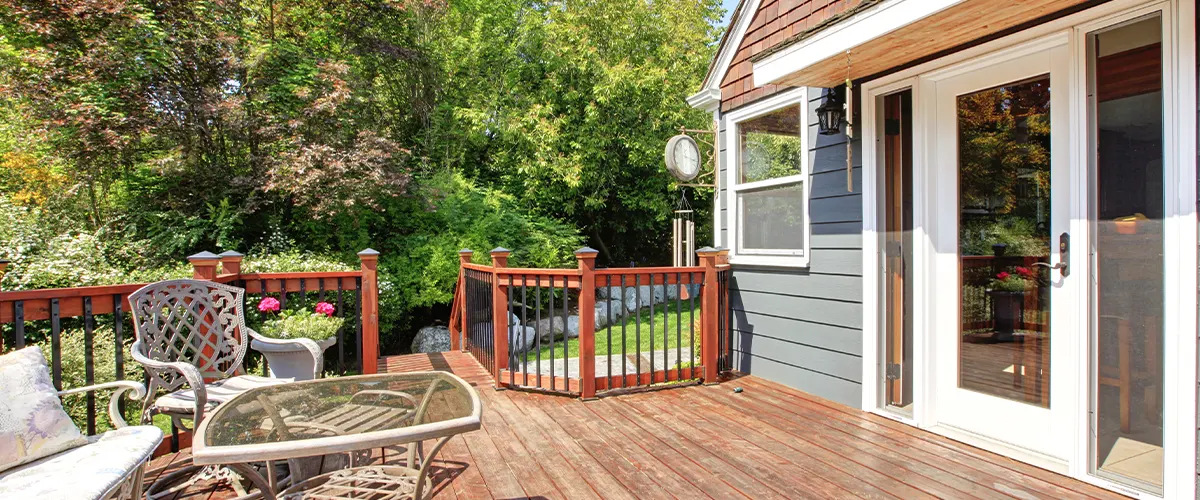
Having a wood deck is a fantastic way to enjoy the outdoors and relax in your backyard. It provides a perfect space for entertaining guests or simply unwinding with a good book. Plus, a deck can add significant value to your home.
If you’re considering installing a deck, it’s important to choose a contractor experienced in deck construction. Building decks is no easy task, and having a skilled team to help you attach the deck to your house is crucial for safety and durability.
Attaching A Deck: Tools Required
- Sledgehammer
- Circular saw
- Hammer drill
- Masonry bit - 1/2inch
- Impact wrench
- Drill/Diver
Attaching Decking to House: An Existing Deck
Make Sure It's Safe
If you’re attaching an existing deck to your home, the process is a bit more complicated. Start by inspecting the ledger board for any signs of rot or damage. If your deck has started to sag or shift, there are a few steps you can take to temporarily brace it against the house.
First, drive 2×4 stakes into the ground at the base of the deck. Then, attach 2×6 diagonal braces between the stakes and the deck. If necessary, you can also raise the deck back to its original height by temporarily installing 2×6 support posts beneath it. Tap the posts into place with a sledgehammer.
If the ledger board is in good condition, you can proceed to attach the joists. However, if the ledger board needs to be replaced, make sure to use bolts rather than nails for a more secure attachment.
Secure The Ledger Boards
To properly secure a ledger board to a sill plate, it’s crucial to drill a clearance hole of the correct size and position. Here’s how you can do it:
Drill the Hole: Start by drilling a ½-inch diameter clearance hole, positioned 3 inches below the upper edge of the ledger. Make sure the hole is angled slightly upward.
Insert the Lag Screw: Place a galvanized lag screw into the hole, along with a washer. Use an impact wrench to drive the screw into the sill plate securely.
Repeat the Process: Continue this process for each joist bay until the entire ledger is securely in place.
Address Gaps: If there’s a gap between the ledger and the house foundation, use pressure-treated wood filler pieces to fill the space. This will prevent the ledger from splitting when bolted into place.
By following these steps, you can ensure that your ledger board is properly secured, providing a strong foundation for your deck.
Attach The Ledger To The Foundation
Attaching a ledger to a masonry foundation is straightforward, but it’s important to do it correctly for a sturdy and long-lasting connection. Here’s how:
Drill the Holes: Use a hammer drill to bore holes through the ledger and into the foundation.
Insert the Anchors: Tap masonry wedge anchors into the holes and tighten the hex nuts with an impact wrench. Space the anchors 36 to 48 inches apart.
Reinforce Joist Hangers: If the existing joist hangers are undersized or corroded, reinforce them with engineered-lumber joist hangers. Slip the new hangers over the existing ones and secure them with galvanized nails.
Attaching Decking to House: Tips for Success
According to NADRA, whether you’re attaching a new or existing deck to your house, there are a few tips to ensure a successful installation:
Use Decay-Resistant Wood: Choose decay-resistant wood for your ledger board and joists. This type of wood lasts longer and is less likely to rot or warp.
Anchor the Ledger Board Properly: Ensure the ledger board is securely anchored to the house. This helps prevent the deck from detaching from the house.
Use Galvanized Fasteners: When attaching joists and decking boards, use galvanized nails or screws. These fasteners resist corrosion and will last longer than regular nails or screws.
DIY vs. Professional Installation
When it comes to installing a deck, you might be wondering whether to do it yourself or hire a professional. Here are some points to consider:
DIY Installation: Building a deck yourself can save you money and give you a sense of accomplishment. However, it’s not as easy as it might seem. Here’s why:
- Skill Required: Installing a deck requires a good amount of carpentry skills. If you make a mistake, it could compromise the entire structure.
- Tools Needed: You’ll need a variety of tools, some of which can be expensive if you don’t already own them. Using the wrong tools can lead to poor results and potential safety hazards.
- Time-Consuming: Building a deck is a time-intensive project. If you’re not experienced, it can take much longer than you anticipate, eating into your free time and causing frustration.
- Risk of Mistakes: Errors in the construction process, such as improper spacing or incorrect fastening, can lead to serious issues. A poorly built deck can be unsafe, leading to accidents or the need for costly repairs.
Professional Installation: Hiring a professional ensures that your deck is built to code and with high-quality craftsmanship. Here’s why it’s the safer choice:
- Expertise: Professionals have the experience and knowledge to build decks that are safe, durable, and up to code. They know how to handle complex designs and challenging landscapes.
- Right Tools: Professionals come equipped with all the necessary tools and materials, ensuring that every part of your deck is installed correctly.
- Saves Time: What might take you weeks to complete can be done in a fraction of the time by a professional. You’ll get to enjoy your new deck sooner without the hassle.
- Peace of Mind: Hiring a pro means you don’t have to worry about making mistakes. You can be confident that your deck will be safe for you and your family to enjoy.
FAQs
How often should I clean my deck?
It’s a good idea to sweep your deck regularly and give it a thorough cleaning at least once a year.
Do I need to seal my deck?
Yes, sealing your deck helps protect it from water damage and keeps it looking good. Depending on the wood, you should reseal it every 1-3 years.
Can I install a deck myself?
Yes, if you have the skills, tools, and time, you can install a deck yourself. However, for complex designs or to ensure high-quality construction, hiring a professional is recommended.
What should I do if I find damage on my deck?
Address any damage, such as loose boards or rot, as soon as possible to prevent it from getting worse. Replace damaged boards and secure any loose nails or screws.
How do I prevent mold and mildew on my deck?
Keep your deck clean and well-ventilated. If you notice mold or mildew, clean it off with a suitable remover to keep your deck in good condition.
Conclusion
Now that you know how to properly attach decking, it’s time to enjoy your new outdoor living space! If you have any questions or need assistance with the process, don’t hesitate to contact a professional. At Riverview Decks, we’re dedicated to helping you create a beautiful, safe, and sturdy deck.
Whether you’re starting from scratch or reinforcing an existing deck, our team of experienced professionals is here to make your home improvement dreams a reality. Contact Riverview Decks at (865) 801-4545 to discuss your project and get a quote. Let us help you build the perfect deck for your home, ensuring years of enjoyment and relaxation. Enjoy your new outdoor space with confidence!