10 Steps on How To Winterize Your Deck in 2024
Getting your deck ready for winter might seem like a hassle, but it’s actually pretty simple. Just a few easy steps can help protect your wood or composite deck from the snow, rain, and freezing temperatures that can do a number on it.
Let’s walk through what you need to do to keep your deck looking good and lasting longer.

Key Takeaways
- Start by removing all furniture and decorations, cleaning the deck thoroughly, and checking for damage. A clean surface and early repairs prevent moisture and cold weather from causing more significant problems.
- Apply a fresh coat of sealant or stain to wood decks to shield against moisture and warping. Consider using a weatherproof tarp or cover to provide extra protection from snow and rain.
- Store or cover outdoor furniture with weatherproof covers, and place non-slip mats on high-traffic areas to ensure safety during icy or slippery conditions.
- Regularly clear snow with a plastic shovel and check for ice buildup. Quick inspections after storms help catch any issues early, ensuring your deck stays in great condition all winter.
- Step 1: Move Everything Off the Deck
Start by taking everything off the deck – tables, chairs, pots, and any decorations. Clearing the space makes it easier to do the winter prep and protects your outdoor furniture.
- Store What You Can Inside: If you’ve got a shed or garage, that’s perfect.
- Cover Up What Stays Outside: For anything left out, invest in some waterproof covers to keep them safe.
- Step 2: Give It a Good Clean
A clean deck is a happy deck! Dirt and leaves can trap moisture, which isn’t great for wood or composite materials.
- Sweep It Up: Grab a broom and clear away any debris.
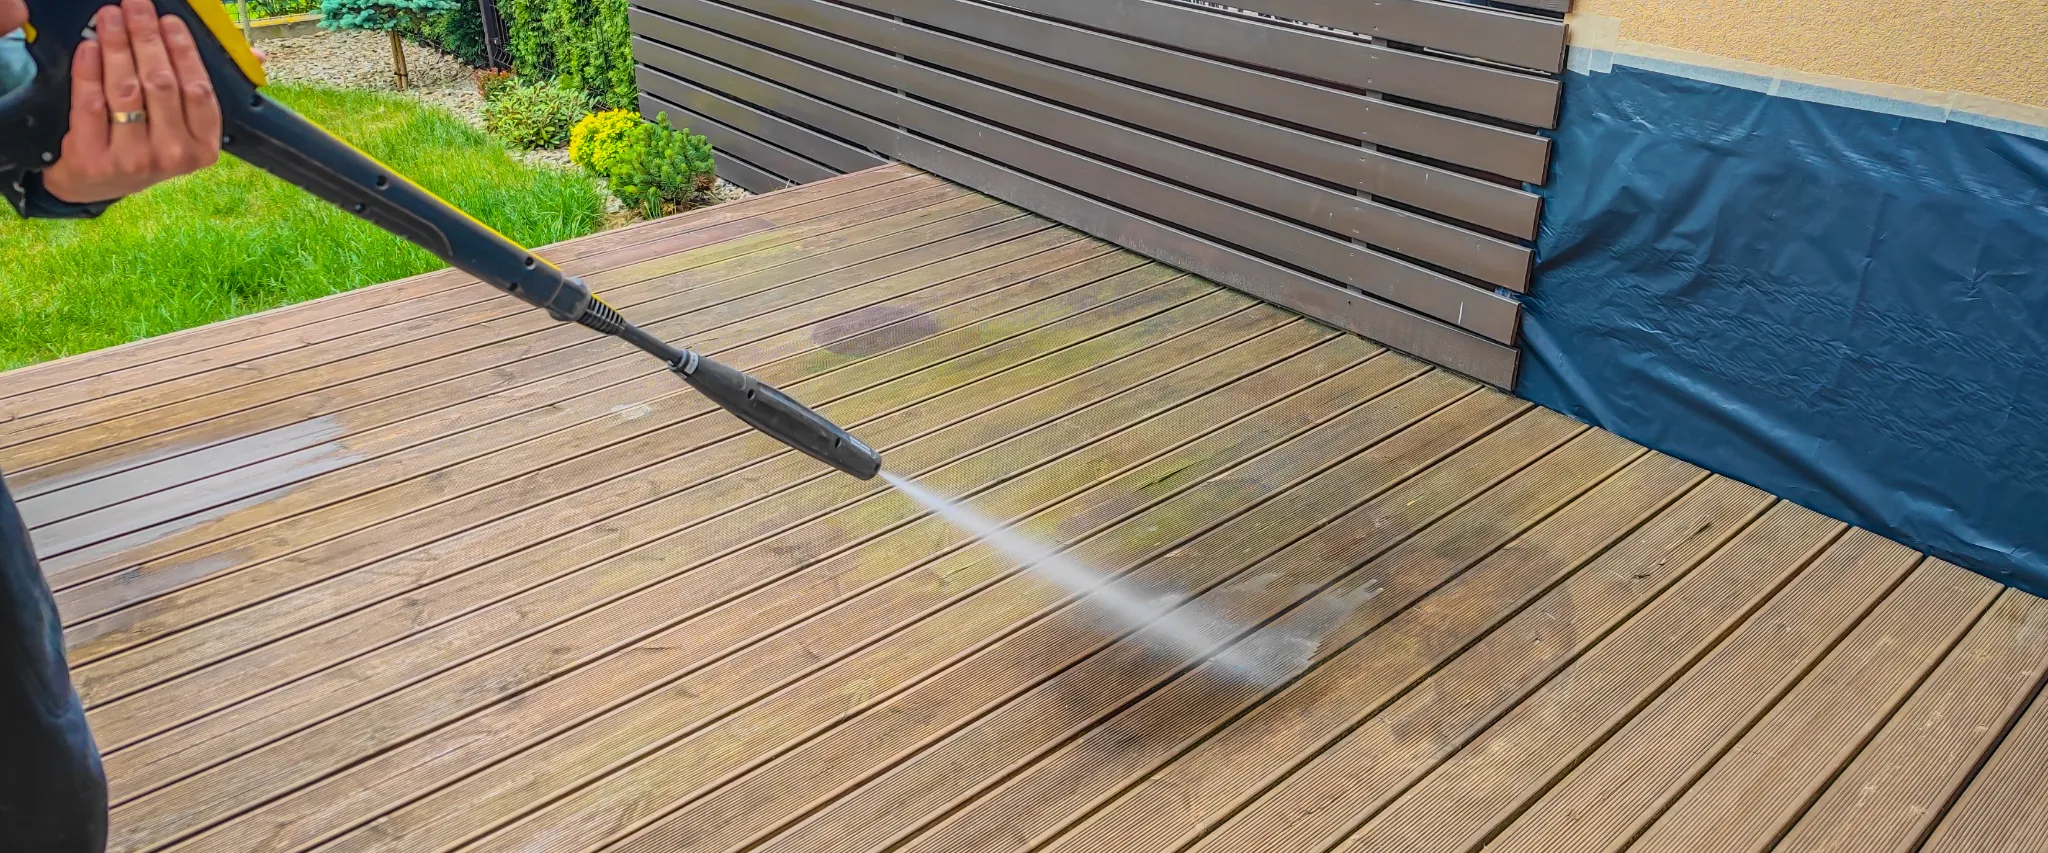
- Wash It Down: Use a deck cleaner suitable for your deck type. A mild soap and water mix works too if you’re in a pinch.
- Rinse Well and Dry: Make sure there’s no soap residue left, then let it dry out.
- Step 3: Look for Any Damage
Now’s the time to check for any loose screws, cracks, or worn-out spots. Fixing them up now saves you from bigger issues down the road.
- Tighten Loose Screws and Nails: A quick tighten can prevent damage.
- Replace Worn Boards: If anything looks worse for wear, swap it out now.
- Step 4: Sand Out Any Rough Spots
If you have a wood deck, this is a good step to help avoid splinters. It doesn’t have to be perfect—just sand down any spots that look rough.
- Focus on Where You Walk: High-traffic areas are most likely to wear down.
- Smooth It Out: A little sanding now makes a big difference later.
- Step 5: Seal or Stain the Wood
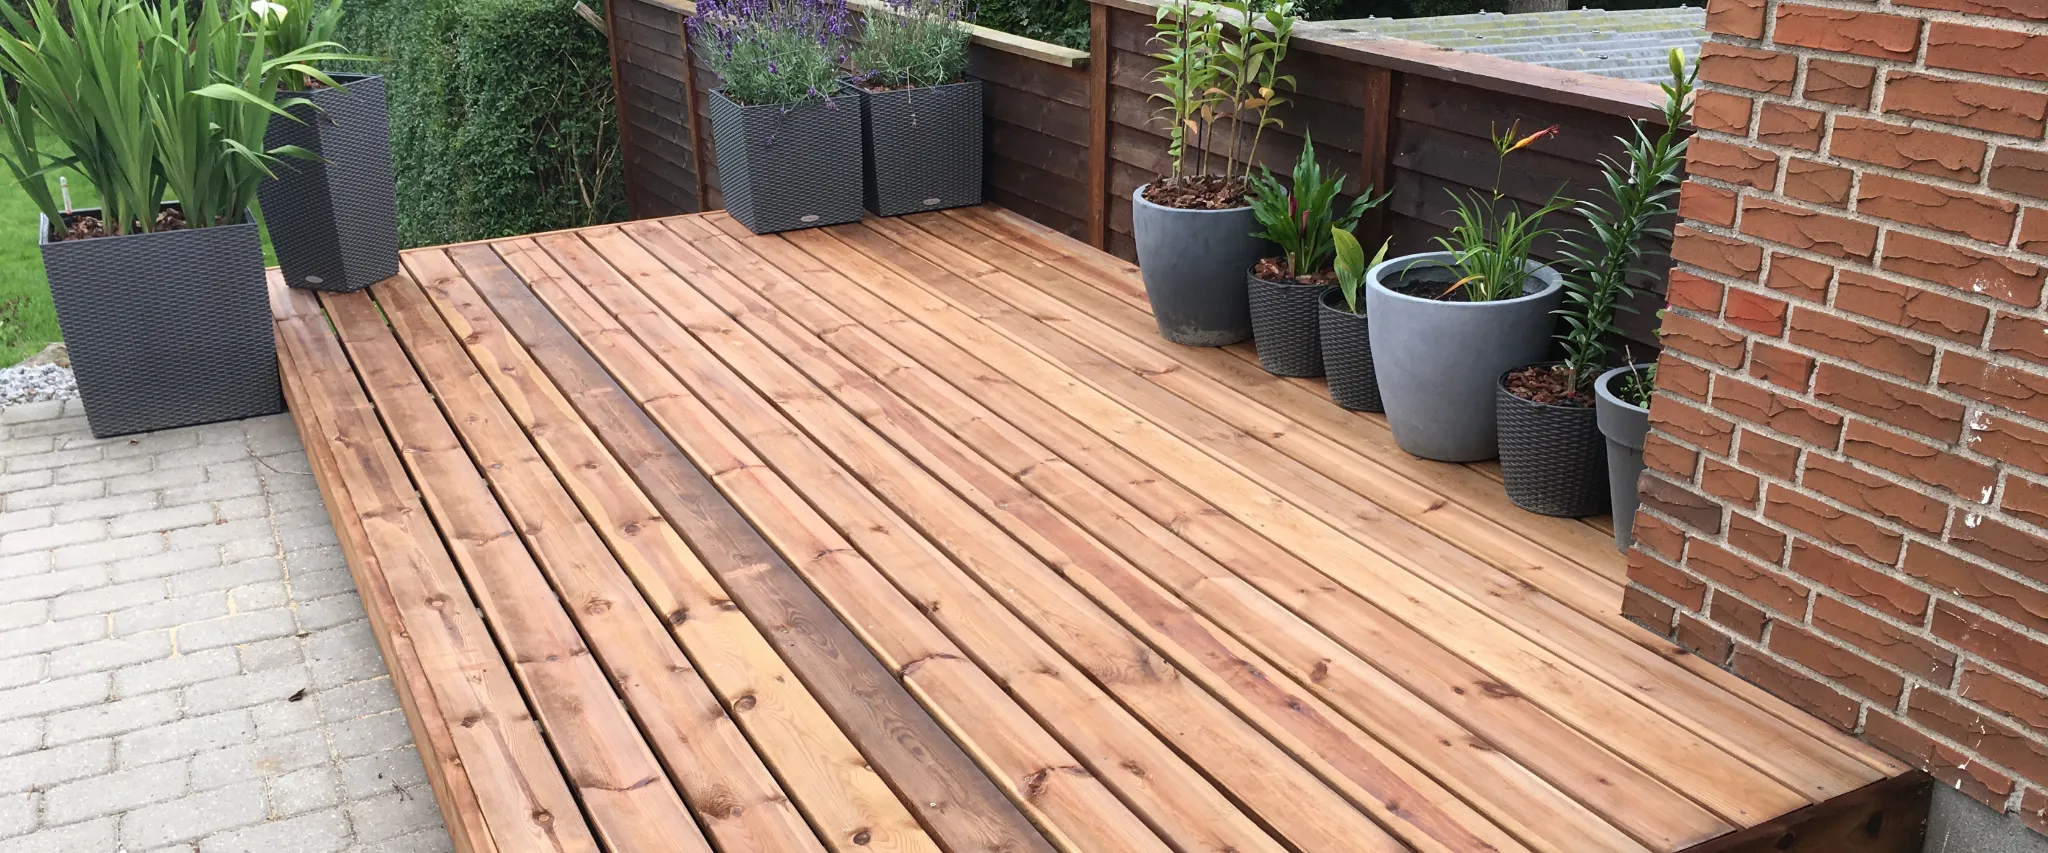
If you’ve got a wood deck, a fresh coat of sealant or stain can work wonders in winter. It protects the wood from moisture, which can cause warping or cracking.
- Pick the Right Product: Look for one that’s good for outdoor use.
- Brush or Roll It On: Make sure you cover all the boards, top and sides.
- Dry Completely: Give it a day or two to fully dry before moving on.
- Step 6: Use a Cover for Extra Protection
Using a tarp or deck cover can help protect your deck surface from the worst of winter weather.
- Choose a Weatherproof Tarp: Make sure it’s big enough to cover most of your deck.
- Secure It: Use ties or weights so it doesn’t blow away in strong winds.
- Step 7: Protect or Store Deck Furniture
For outdoor furniture, keep it in good shape by covering or storing it.
- Cover with Heavy-Duty Covers: Weatherproof covers protect from rain and snow.
- Store Smaller Items: If you can, put chairs and cushions in a shed or garage.
- Step 8: Use Non-Slip Mats for Safety
Winter weather can make decks slippery. Non-slip mats add a little extra safety, especially if you use your deck regularly.
- Pick Sturdy Mats: Make sure they’re heavy-duty enough to stay put.
- Place in Key Spots: By doorways or other entry points where people step most.
- Step 9: Clear Snow as It Builds Up
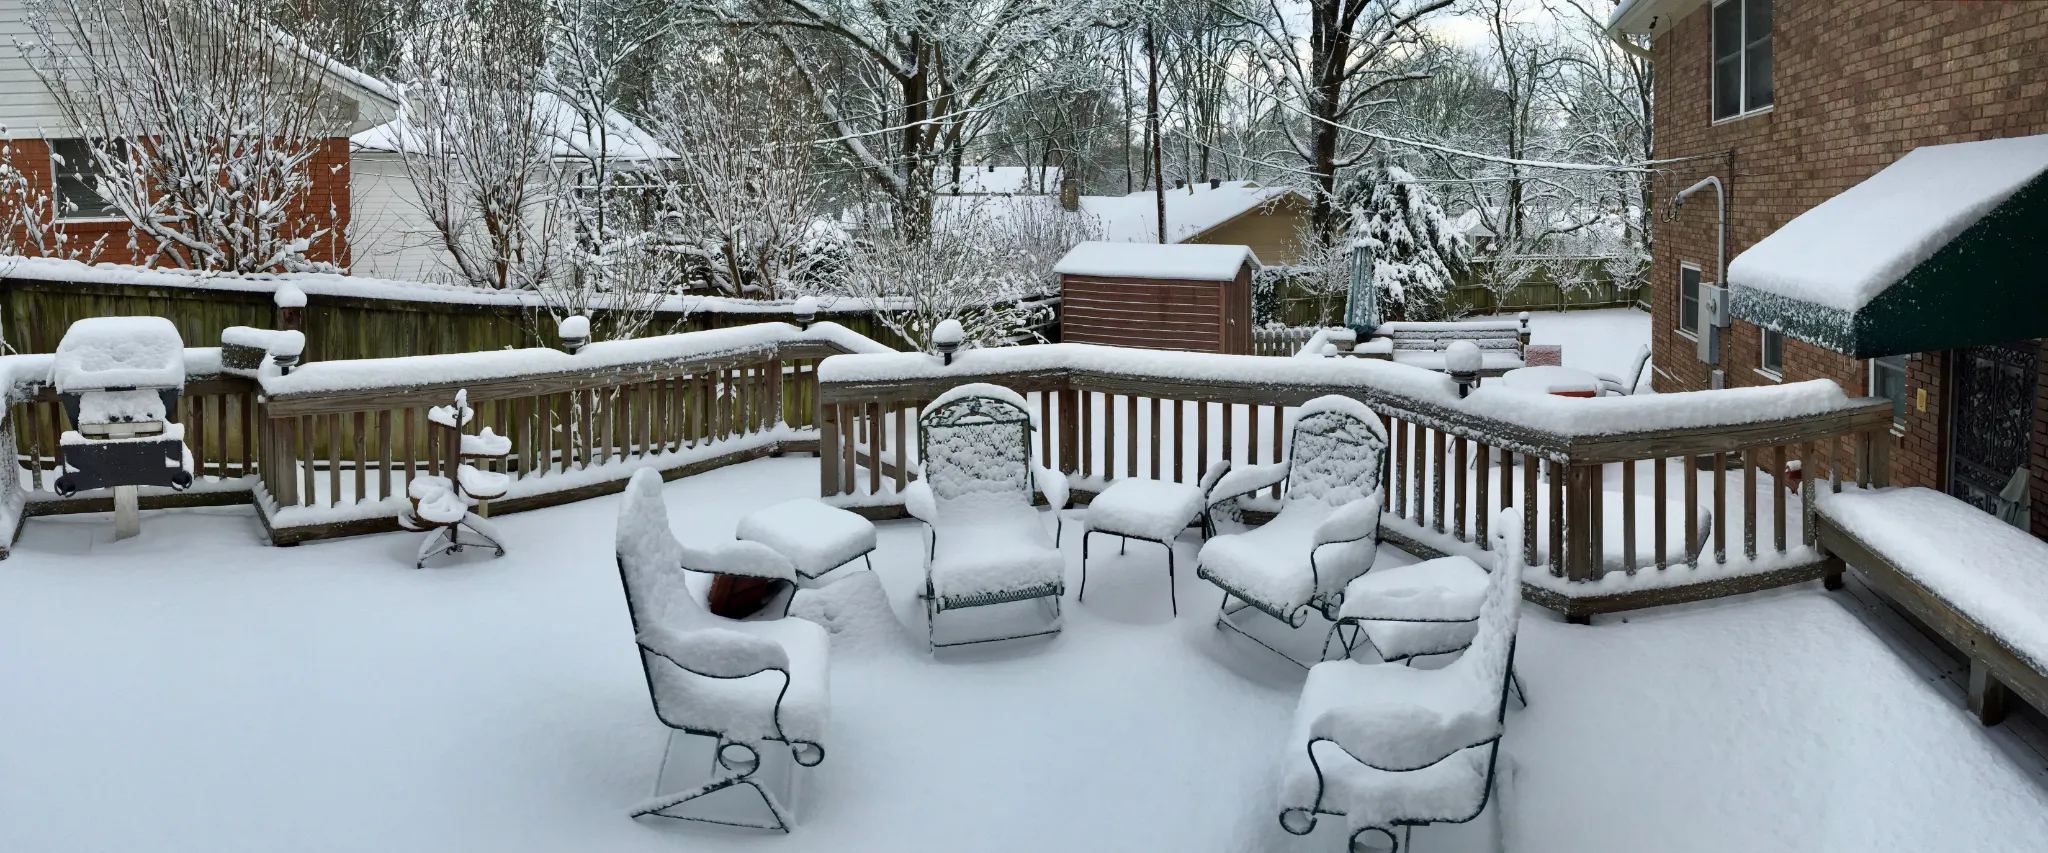
Leaving snow to pile up on your deck isn’t great for it. It’s best to clear it off after big snowfalls.
- Use a Plastic Shovel: Metal can scratch, so stick with plastic.
- Light Sweeps for Light Snow: A broom is often enough for smaller amounts.
- Skip the Harsh Salt: If you need to melt ice, look for a deck-friendly option.
- Step 10: Do Quick Check-Ins
Even if you’ve done everything to prep, a quick check here and there over winter helps catch any problems.
- Check After Big Storms: Take a look for any damage or issues.
- Keep an Eye on Ice: Add salt to slippery spots if needed, but make sure it’s safe for your deck material.

Think About Adding a Roof or Pergola
If you live in an area with harsh winters, adding a simple roof or pergola over your deck can give it some extra protection. It won’t block all the snow or rain, but it can reduce the amount of moisture your deck faces day-to-day, which helps it last longer.
- Permanent Roofs: A permanent roof structure over your deck can shield it from a lot of weather damage. It’s a bigger investment, but it’s great if you want to enjoy your deck year-round.
- Pergola or Temporary Covers: If you’re not ready to commit to a full roof, a pergola can still help by blocking some rain or snow. Temporary covers like tarps can also work in a pinch for extra protection during winter storms.
Adding some kind of cover doesn’t just help in winter – it also makes the deck more usable in the hot summer months. Plus, it’s an upgrade that can add style to your outdoor space.
Dealing with Mold and Mildew
Winter months can bring a lot of dampness, which sometimes leads to mold or mildew on your deck. A little care now can prevent green spots and keep your deck looking fresh.
- Use a Mold-Resistant Cleaner: A cleaner that targets mold and mildew can help stop them from forming, especially if you live somewhere rainy or damp.
- Keep Things Dry: As much as possible, keep your deck dry in winter. If you see standing water, sweep it off to prevent moisture buildup that mold and mildew love.
- Air it Out: Even in colder weather, letting some sun and airflow hit the deck helps keep mold from growing. If you cover your deck with a tarp, check in once in a while and let the deck air out a bit.
Taking Care of Deck Stains and Seals
If you applied a sealant or stain to your deck, the winter months can wear it down. Keeping that seal strong helps with moisture protection, especially for wood decks.
- Inspect for Worn Spots: After cleaning the deck, look for any spots where the sealant or stain looks thin or worn down. These are the areas most likely to absorb moisture and swell in winter.
- Reapply as Needed: Touching up any thin spots with a fresh layer of sealant can add months, even years, to your deck’s life. Make sure the deck’s totally dry before applying more.
- Consider Water-Repellent Sealants: Water-repellent products add an extra layer of defense against snow and rain. These products work well over stains to keep moisture out and protect the wood.
Preventing Ice Buildup
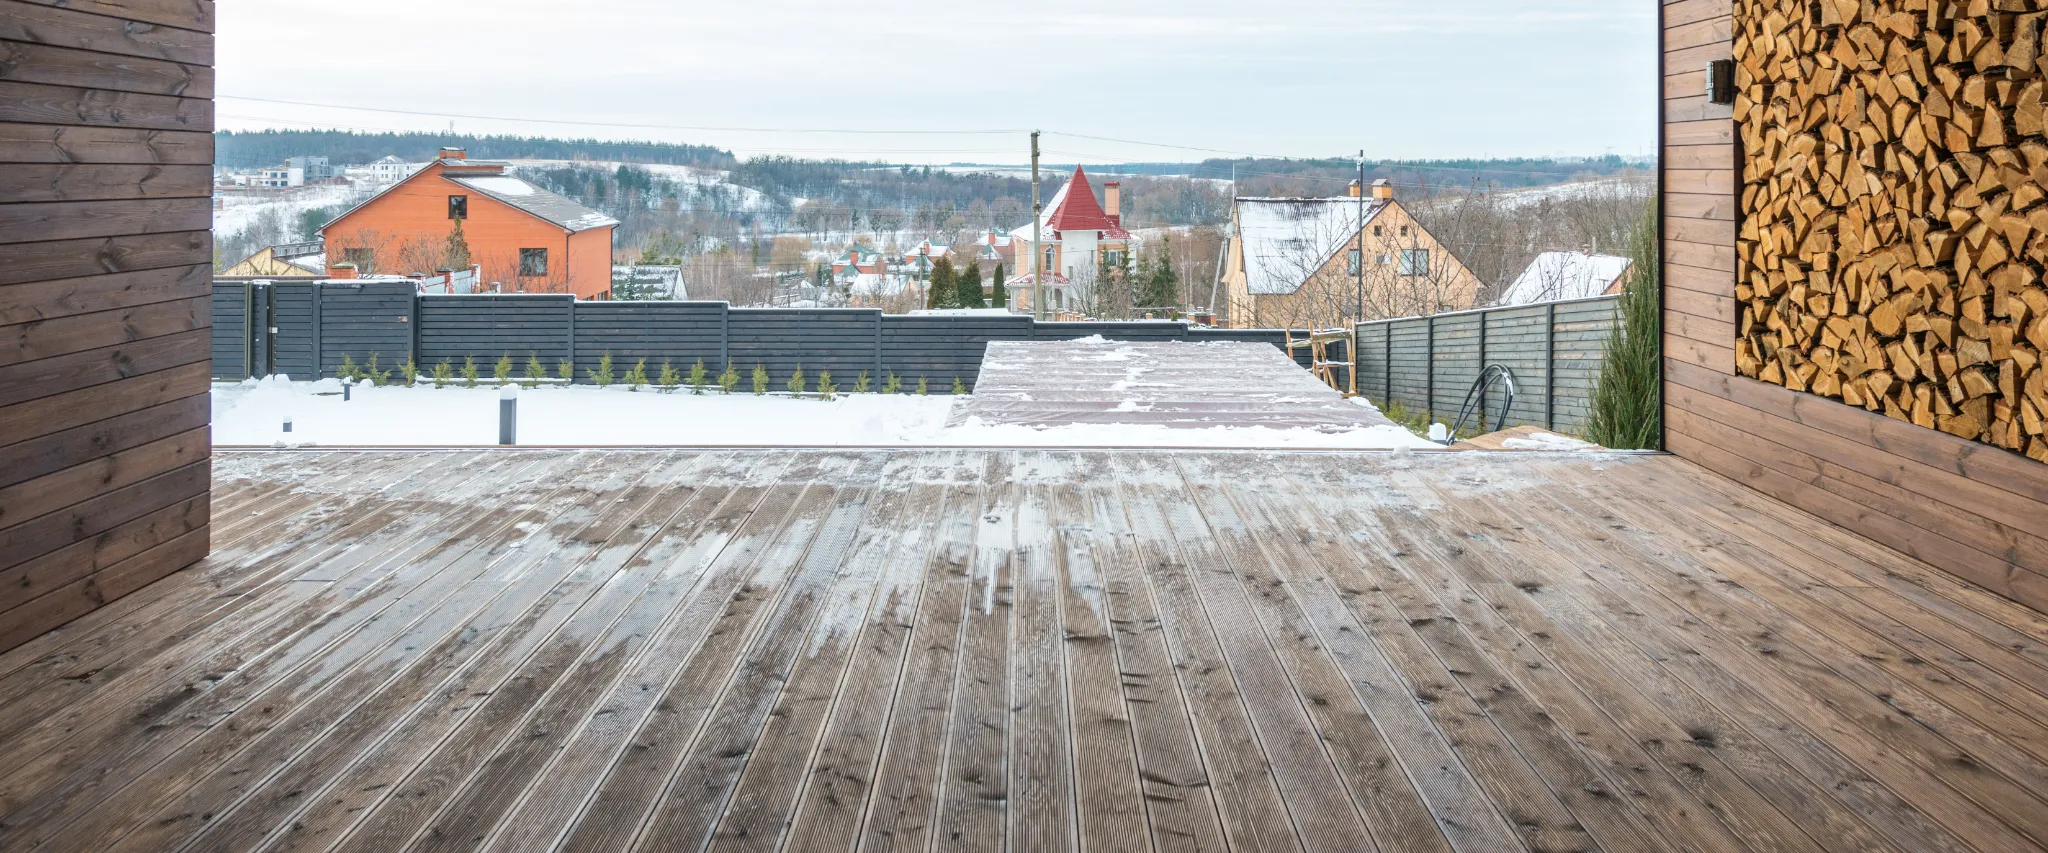
Ice buildup can turn your deck into a skating rink and cause damage if water seeps in and freezes. Here are some tips for keeping ice under control without hurting the deck.
- Choose Safe De-Icers: Standard rock salt can damage wood, composite, and metal parts of your deck. Instead, look for de-icers specifically made for decks or safe for outdoor surfaces, which will be gentler.
- Spread Sand or Kitty Litter for Grip: If you’re worried about slips, spreading a little sand or even kitty litter can add grip without causing harm to the deck. This is especially helpful if you or anyone in the family uses the deck as a pathway in winter.
- Stay Away from Metal Shovels: Metal shovels might seem like a good idea for chipping away ice, but they can scratch and gouge your deck. Stick with a plastic shovel or even a sturdy broom for breaking up smaller ice patches.
Protecting Deck Railings
Deck railings can take a beating in winter. From icy rain to heavy snow piling up, they need a little extra care to stay looking and working their best.
- Check for Loose Parts: Railings can become loose over time, especially if they’re exposed to rough weather. Tighten any loose screws or brackets to make sure they’re secure before the winter season.
- Apply Sealant to Wood Railings: If you have wood railings, a coat of sealant can help prevent moisture from causing cracks or splits.
- Clear Snow Carefully: Try not to let snow pile up too high on the railings, as this can cause sagging or bending over time. Gently sweep off snow when it builds up to keep railings from bowing under pressure.

FAQs

Wrap-Up with Riverview Decks
Taking these steps now will keep your deck in great shape all winter, so it’s ready for you in spring. If you want help winterizing or need advice on deck care, Riverview Decks is here to start your deck building project.
Contact us at (865) 801-4545, and we’ll make sure your outdoor space is ready to face whatever winter brings!

